
Into dusty archives of lore we go... back before all we now know!

Wanted to see what this original set of rules was all about. Checked out some videos on y-tube and still had trouble getting a feel for the rules. Mainly because I couldn't find a video that explained what it was like to actually play the game using the mechanics. So, I had to grab a copy. There's a two main ways to do this:
@ Archive.org; FREE 2ed Rules by Guidon Games! - CLICK
@ Archive.org; FREE 3ed Rules by TSR! - CLICK
@ WargameVault.com; PAY for a pdf and hard copy of 3ed - CLICK
I found the 3rd ed. at Wargame Vault first, and it was pretty cheap so I got both a pdf and hard copy. Then I stumbled across the 2nd Edition set by Guidon Games [Owned by Jeff Perren, the co-author who published the rules before the TSR 3rd Edition]. If you want to just check them out, you can't go wrong with "free"!
I quickly printed out the rules, enjoying the old type font, bad pics, and other such retro old-school dated stuff. Definitely a blast from the past! I never played them, however, no idea why not. Just never came up. So, what's the quick summary?
BLUF: Chainmail 3rd Edition is a retro set of rules, with many great ideas and mechanics from which many other games developed. They are a bit dated in structure [combat mechanics require something called "MATH" that I dimly remember from the 80s], including the use of several charts, scattered organization and presentation of ideas. As such, they have charm for elderly fellows like myself, and that rare breed of youth that regards archaic presentation and processes with fascination.
The good news, is that the slog is worth it if you have a bit of patience. The rules have many mechanics that are [now] standard [but often streamlined], so will be very familiar to any experienced table top gamer. Some positive features are:
- two Turn sequences, Initiative Move / Counter-Move, and Simultaneous.
- a workable Fatigue mechanic that actually affects decisions!
- a fairly complete variety of medieval troop types, including examples of the various ways to categorize historical troops into the game.
- Rules for battles where a "Unit" is many figures, or only 1 figure, Skirmish-style
- Rules for Fantasy figures / units [in the Skirmish Section] that are closely related to the literature from which the genre derives, e.g. Tolkein, et al.
- Rules for magic
- Rules for Jousting [Jousting!!] with a decision matrix for Jousting tactic
- Rules for Sieges
- Suggested point values
In short, this is a pretty complete set of rules that any experienced gamer can get a wealth of ideas from, and then either tweak them or play as-is. For the measly $12 I paid for them [pdf and hard copy] or a free 2nd edition download, I just can't see how one can NOT check them out!
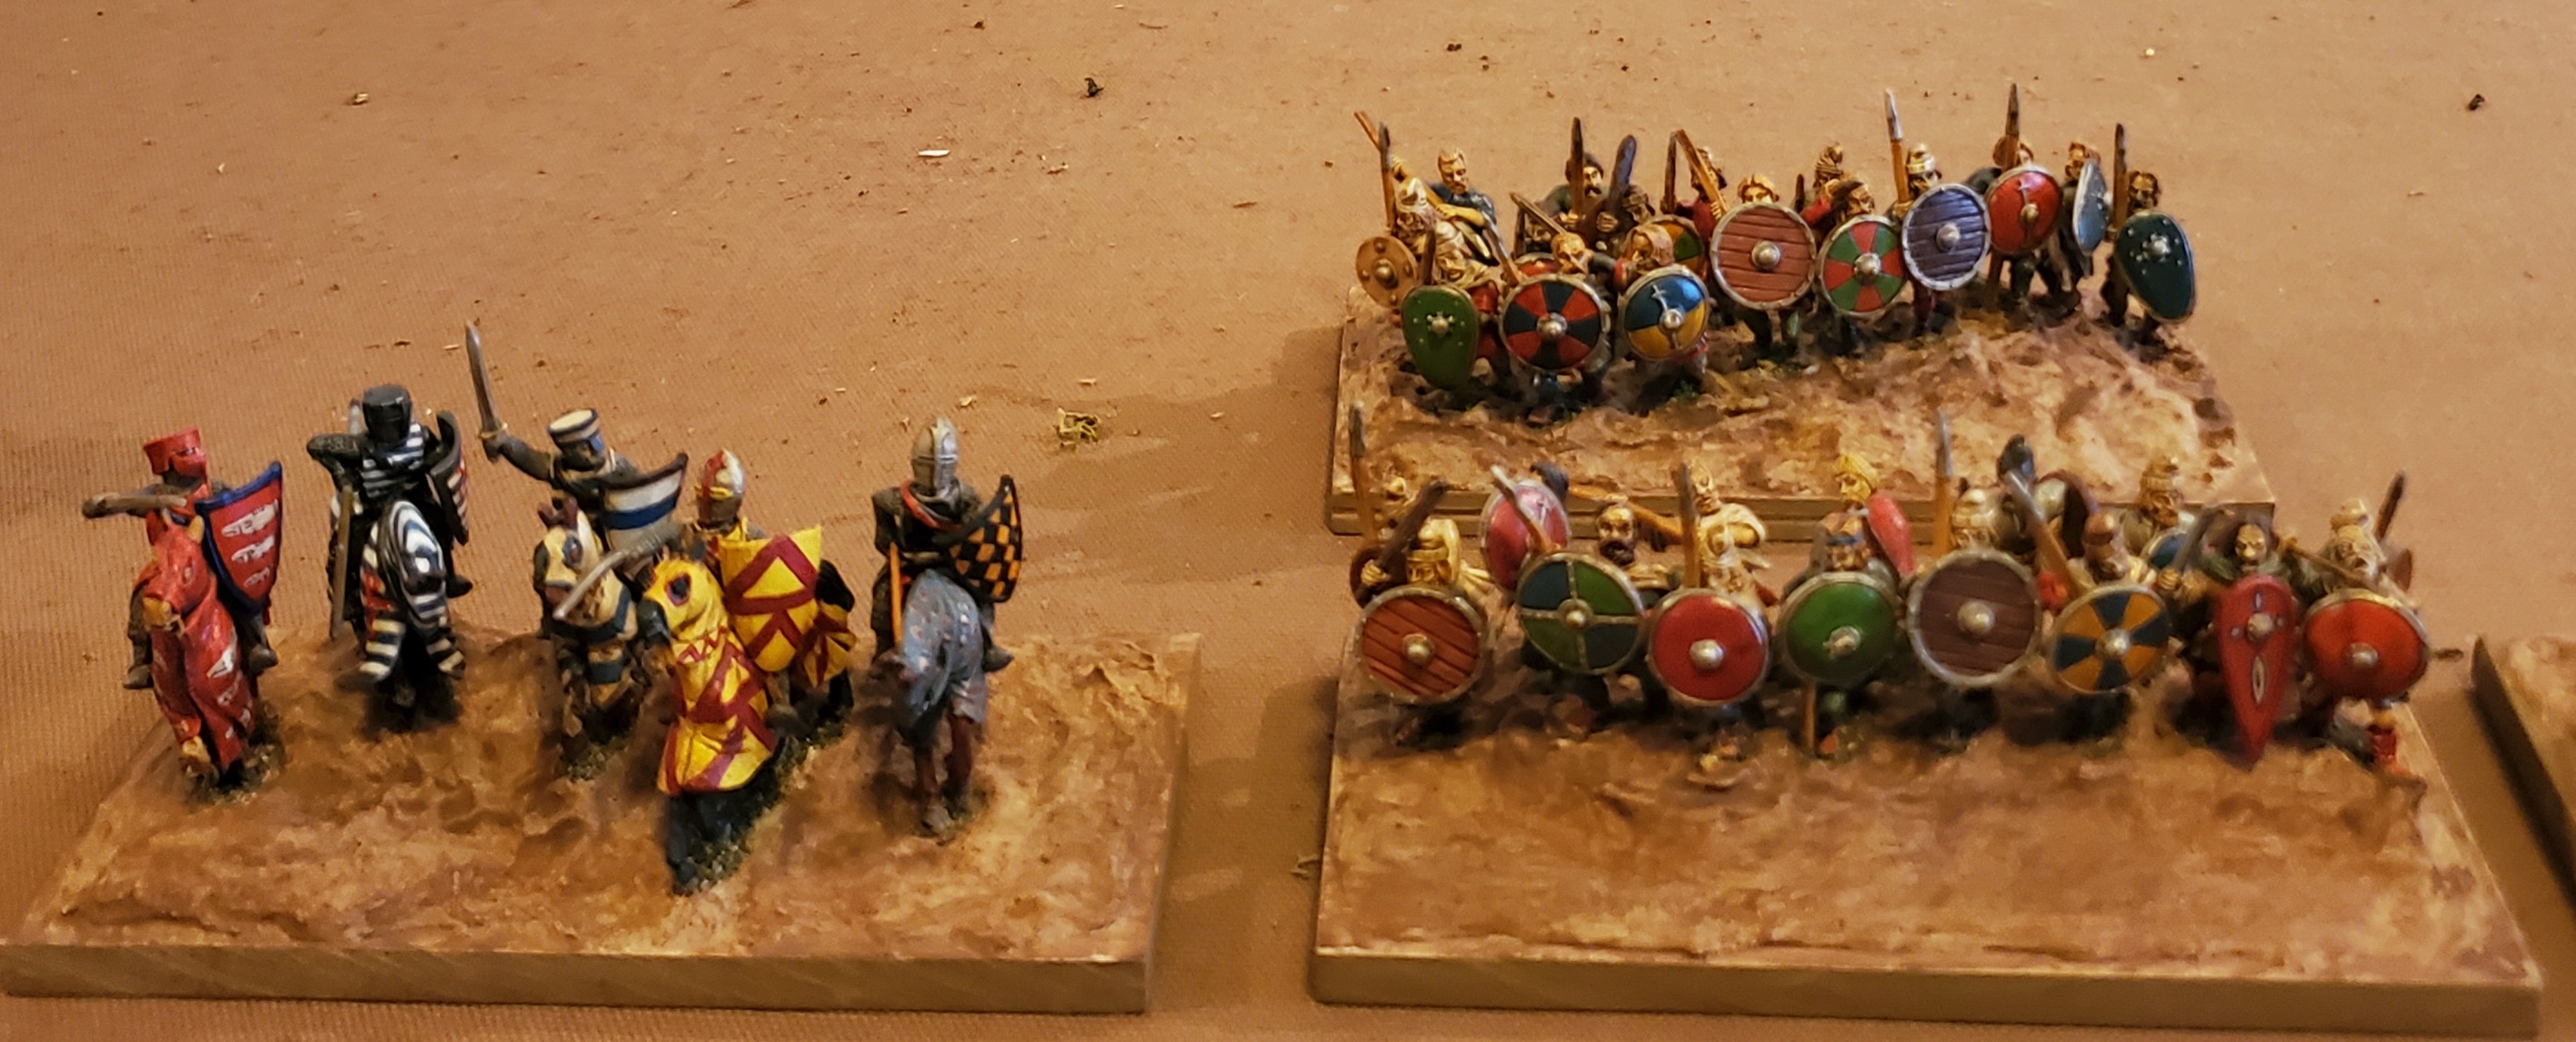
For my initial playtest, I used my Welsh / Normans, all uni-based. While it seems like they used single or WRG style basing, it doesn't seem to matter except for a couple of mechanics. Below, the Normans:


But the LIght Infantry archers succeed, and shoot at the Welsh Archers in the woods.


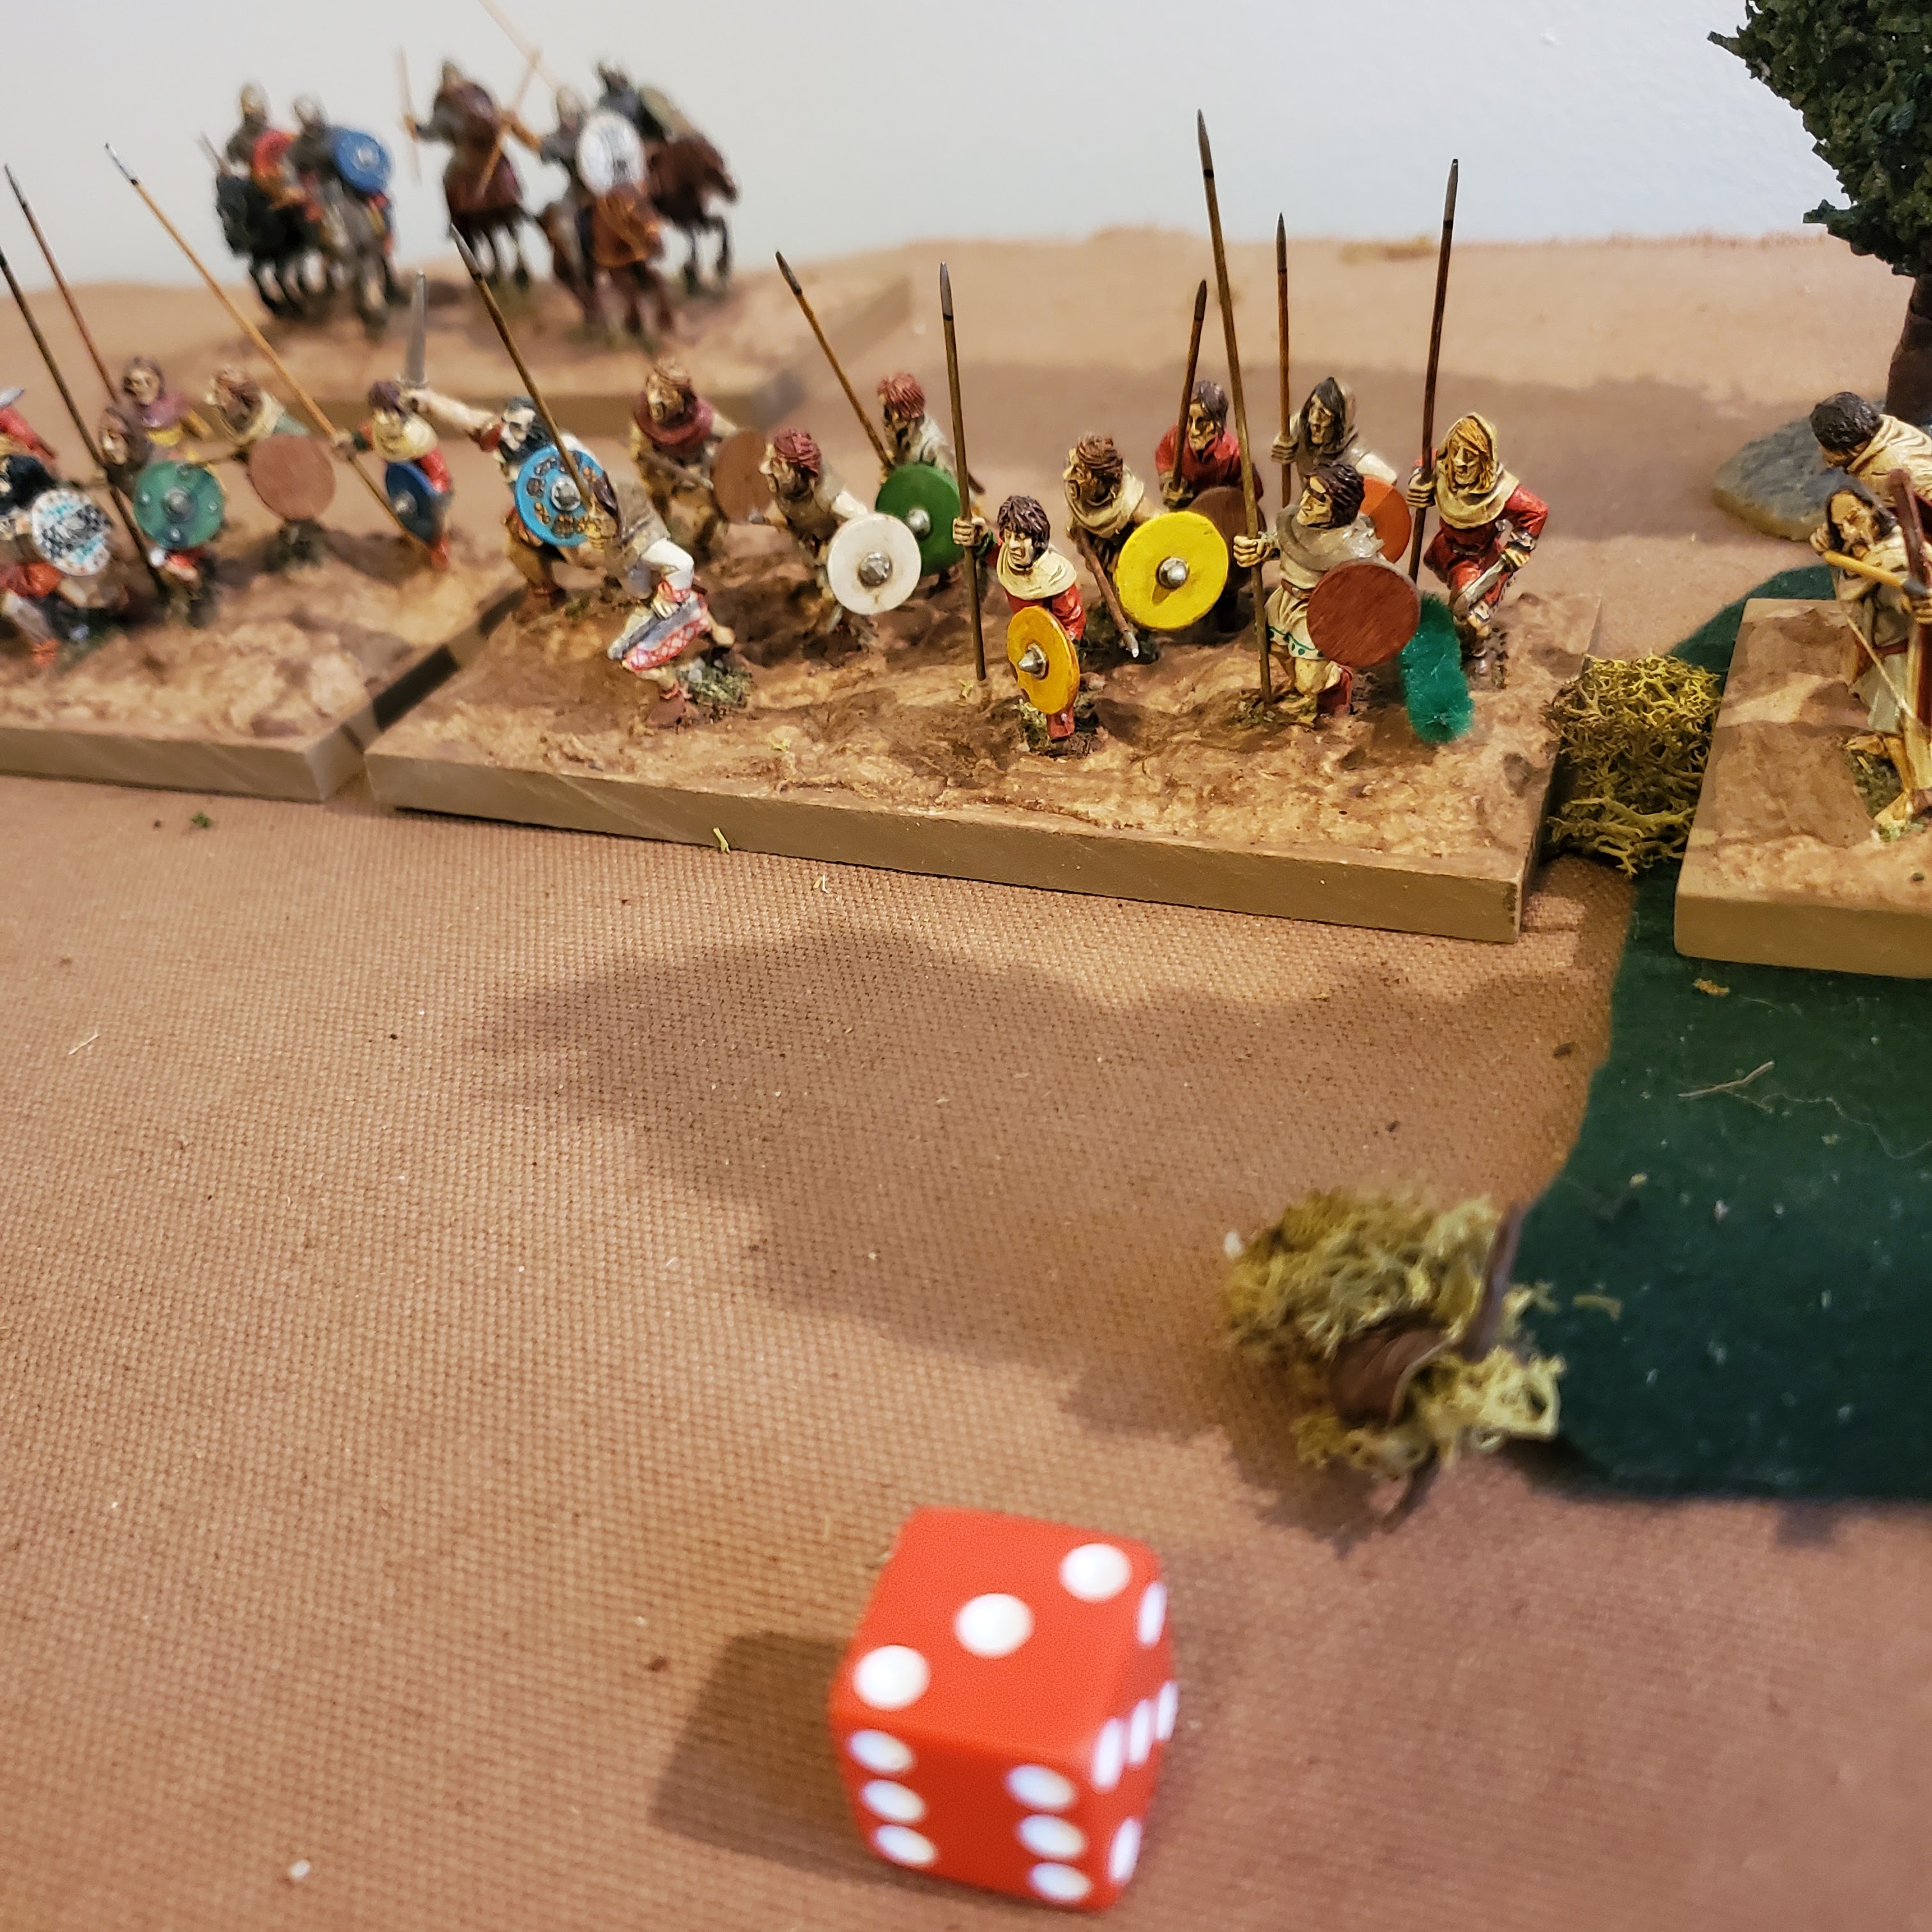
Close up of the valiant Welsh spearmen - "You can take their land, but you cannot take their FREEDOM!" As someone once said.


After T2 movement, the Archers all shot, and the Welsh came off quite the worst, with 5 of 9 killed. At over 50%, they need to check morale, and roll a '7'...

This is just shy of what they needed, so they depart the field.

The Norman archers have collected some Fatigue Points, but I wish it wasn't routing my Welsh off the table!

Lesson 1 - Numbers matter in "Chainmail" and you will struggle to win a melee if outnumbered, so don't act without support close by!

The levy Heavy Infantry Contacted the Light Cavalry and won the melee through weight of numbers despite a 2-1 kill kill result. They have only lost 3 Figs, and are still ready to fight them off again. Overall, I found that this matchup - Heavy Infantry v. LC - worked well with the rules. If the LC get too close, they can be "Contacted" and driven off by a melee resolution. This produces a trickle of casualties but it is mainly Fatigue that becomes the critical issue.


Welsh make some advances, including melee contact and threatening various Units with charges from their Heavy Cavalry unit. Below, the Welsh missile units are Fatigued, altho they managed to get one kill on the Knights, who also are Fatigued.

In the Center, The Norman dismounted knights - Armored Infantry - and Levy slug it out with the Welsh Heavy Infantry. The Heavy Infantry Archers easily drive off the Welsh Heavy Cavalry with bow shots - pushing them over 33% and then they failed Morale with a measly '4'.
 Norman Light Infantry advance to seize the woods on the flank of the Welsh. Must be useful at some point later in the fight! Center is looking bad for Welsh - the Heavy Infantry are within 3" and can "join the melee", an interesting rule that emphasizes supports.


Turn 4, Normans win Initiative and they elect to force the Welsh to move first.


Note that the Welsh Spearman in center have 4 Fatigue Points, and are not yet Fatigued. The Armored Infantry are Fatigued at '5', and will now melee as only Heavy Infantry. However, the Levy foot to right have 4 and are not Fatigued either, and they are within 3"...

In the Melee Phase, the Welsh score an amazing three Hits, while the Normans all miss! Despite this happy result, the Welsh will lose to the greater numbers against them, what comes down to around 20 heavy infantry to 10. The Norman foot knights also pass their morale check, which could really have helped. They do not have to check for a while now.

On the plus side.
- Interesting tension between going first [Charge, get out of harm's way, Remove Fatigue] or second [see what opponent is doing and react to it].


With the Normans steadily rolling up the Welsh battle line, and no reinforcements, the Welsh will have to concede the field - and the village - for today.
I feel this battle was very "realistic" in how it went down, and the mechanics delivered a battle with great historical feel. If written as an historical narrative by a diligent monk, it might read like this:
- The Normans advanced against the contested cantref, and at a small village Lord Ranulf met Maddog ap Twentig. Ranulf dismounted some of his knights in whom he had less trust, and kept his bannermen mounted. Both sides advanced, the Welsh using terrain to advantage.
- As the battle lines drew closer, Ranulf grew impatient and charged against the Welsh spearmen. However, they were supported by many alongside them, and Ranulf was forced to quickly withdraw before being surrounded. On the right, the Norman serjeants out-shot the Welsh archers despite them being in a wood. The Welsh mounted retainers harassed and distracted a contingent of Norman levy foot on the left, who turned aside to face them.
- The Welsh retainers were driven off, even as the Welsh archers to right fled the field. Maddog moved his trusted bannermen up to threaten the Norman archers with a charge. In the Center, the dismounted knights and levy closed with the Welsh.
- Maddog's teulu were driven from the field in a hail of arrows. The same Norman serjeants, altho staggering with Fatigue, supported the Levy closely and managed to drive off the Welsh spearmen with threat of numbers. Ranulf's bannermen reorganized themselves and returned to the battle line, but lost some worthy servants to Welsh arrows. They were also badly in need of rest. The levy on the left had also lost a number of men to the mounted Welsh retainers, who showed great spirit, harassing them with javelins until driven off.
- Finally, in the center, despite much exhaustion, the Normans drove off the last of the Welsh spearmen, who quickly followed Maddog from the field, their numbers being inadequate to the contest. Maddog vowed to return with a greater army and take back his cantref!
Overall, I only have one significant complaint, which is that Shooting is very powerful, and there's no limit built into the game [ammo limit, for example] to restrain it acting like a Maxim Gun, destroying entire Units in a turn.
- Interesting tension between going first [Charge, get out of harm's way, Remove Fatigue] or second [see what opponent is doing and react to it].
- the Join the Melee / Withdraw from Melee [for Missile Troops] is an interesting mechanic. It emphasizes having support units nearby in a simple way, and it has great "feel". Not one I've seen in other rule sets.
- The Fatigue rules make for a very realistic and interesting decision process. You can risk becoming Fatigued if you will then have an opportunity to rest, i.e. you are not sorely pressed by the enemy. This makes reserves incredibly important for both sides, as you can screen Fatigued friendly units, while threatening Fatigued enemy units. This added a lot of realism to the game, more than many other rules.
I have been posting questions and getting quick answers at the Chainmail Fb page which is here [CLICK]. As with many of the best Fb pages, the group is quite supportive and it's a great resource. Speaking of resources:
@ Resource Page by Jon Mollison - CLICK
@ D&D Knowledge Compenium www.acaeum.com - CLICK
@ YouTube - CLICK
All these have also been useful, even if they don't always get the details right.
Final thoughts: "Chainmail" is a great game that uses some unique mechanics to shape both the "feel" of the game and the tactics needed to win. I was startled to find that this was one of the most realistic and less abstract games I have played in a long while.
The downside is that combat resolution requires some math, the rules are pretty disorganized and require some page-flipping. A number of the mechanics are over-engineered [move rates, shooting distances] which produces "false differentiation" of troop type and weapons, a pet peeve of mine altho it is beloved by many gamers.
I will definitely be playing these more, streamlining some processes and mechanics, but largely keeping them intact. They produced one of the most realistic medieval games I've played in a long time, with the results more of an indicator of me learning the rules and not using the point system, than any probs with the rules.
A most enjoyable post to read covering both rules and a game report. Thanks.
ReplyDeleteThanks Peter - we try to please our visitors! :) The rules are fun and deserve some exposure, and heck they are free or nearly free. Why spend $60 on a huge glossy book that is disorganized and confusing when you can save money and play a classic instead!
DeleteHi Alex I dont think I'm seen your knights in any of your old-timey games previously. They look excellent!
ReplyDeleteThanks Steve, they are Old Glory and it's all handiwork. I cheat with micron pens to outline and do fine details. Doesn't look quite as good as the new transfers, but it does give them some handmade charm, IMHO.
ReplyDelete