
The Cantref Campaign Continues...

Lovely river! Who *wouldn't* want to fight over it? Impressive bridge as well...
Been having so much fun with "Chainmail" that I got my medievals out for another romp. After the random throw-down for a key village in the cantref [a Welsh township, more or less, perhaps a small county], Lord Ranulf and Maddog ap Twentig face off once again, this time at a key crossing over a river farther in the cantref. Ranulf is attempting to secure his hold on the area after his first victory, while the Welsh are attempting to beat them back to their territory. Obviously, a bridge is a significant feature that could make or break a campaign depending on the river and the trade routes.
Here, I picked a scenario from One-Hour Wargames, an old standbye, Scenario #5.

The key to the scenario in my experience is the woods near the bridge. Whoever controls it will be able to keep forces near the bridge, and most likely drive off the other. Overall, it is likely to be a drawn scenario due to the difficult victory conditions, which demand that the attacker have no units north of the river within 12" of the bridge. The random appearance of the defenders is also a problem. But these challenges make it all the more fun!
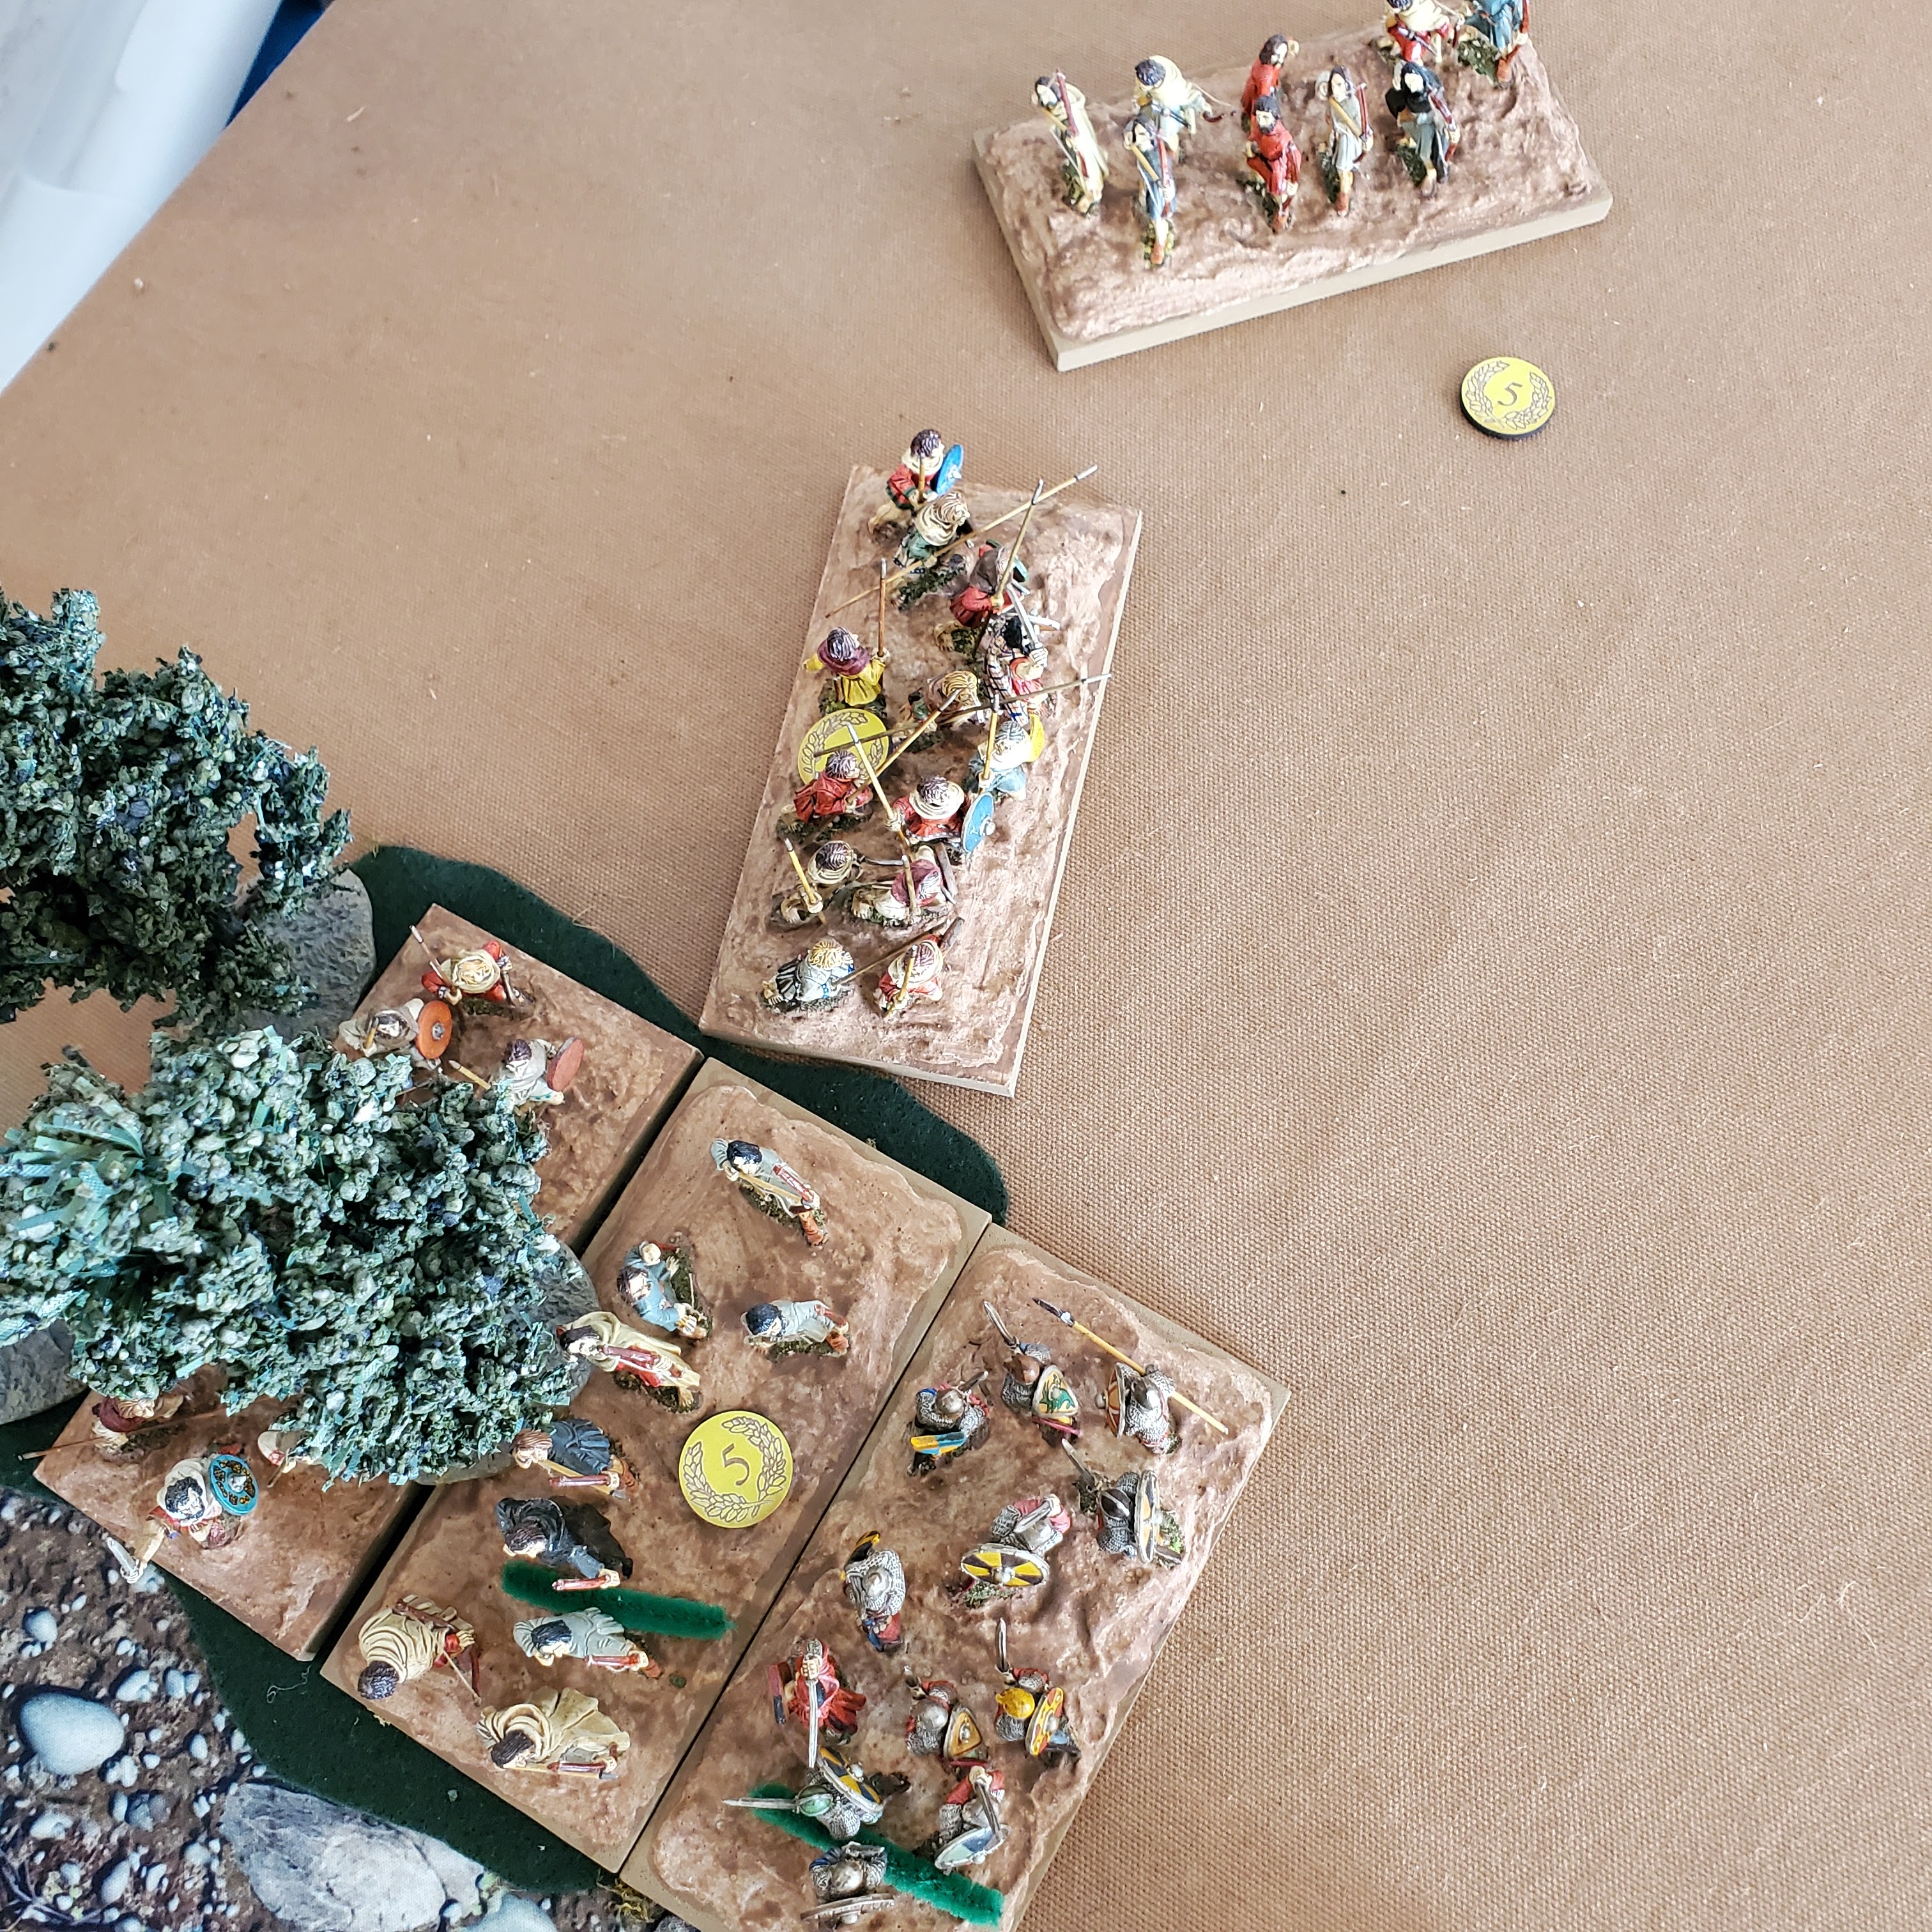
Below, Welsh defenders: two units of Spearmen, two units of Archers, a Unit of 10 Heavy Horse and a unit of 6 Light Horse. A nice balance of melee and shooting.


Meanwhile, one Archer removes 5 Fatigue, while the other prepares for a beating from the Armored Foot - while not properly equipped for chasing bowmen thru the woods, the homicidal instinct of the knights should see them off the board...
 Also, one Welsh Spearman is able to move half up, then enter the melee as within 3" and therefore support the lowly archers!
 In the ensuing melee, the Spearmen take a kill, the Archers take 2 kills.
 Yes, this game involves math, or "maths" as the Limeys say. The Armored Foot knights get a slight edge, but not enough to bring about a decisive result.
 Still, the Archers have taken 50% losses, and flee the field automatically.

Turn 4, the Welsh win Initiative, and force the Normans to move first. They bring on a Unit of Levy and adjust the facing of the Knights to cover more of the field.

In the melee phase, the Welsh take 4 but inflict 3 kills, not bad!
 After calculation, the Armored Foot go Back a Move, dashing for the bridge and safety. But is it really safe?

Turn 5, the Normans win and force the Welsh to move first, revealing their reinforcement plans and deployments!
 Entering at point "B" on a '4', the Welsh teulu and retainers threaten the Norman heavy cavalry with wild shouts and thrown javelins. Combined with high volley fire from the remaining Welsh archer Unit, the Knights have lost 3 figs of 10!
 As it is the half move, the Normans decide to "Charge if Charged" and attack the teulu and their retainers. Pretty bold!
 The Welsh spearmen rest and remove 5 Fatigue, while the other spearmen attack the Fatigued knights on the Bridge [who will melee only as Heavy Foot].
 They "close the door" into edge to edge contact.

As for the Cavalry Charges, the Welsh pass easily on a 9 and 10.
 As do the Norman Knights on a '9'.


In melee resolution, the Normans inflict 3 kills on the Light Horse, and take 1 Kill in return.
 The Normans go Back one Move, and the Welsh must pursue!
 These units will melee again soon.

Meanwhile, the Welsh spearmen roll like poo and take 2 kills while inflicting none...
 ...so they go Back a 1/2 Move.
 Meanwhile, the Fyrd Levy are working on fording the river. While the scenario says the river is impassible, Chainmail allows a slow crossing of a river. Here, I decided to go with the Chainmail rules instead of the scenario as it was more interesting!


In the melee, the Teulu lose and go Back a 1/2 Move. Bleh!

Below, the Normans are trying to force the river despite the North Bank being held by doughty Welshman. Arrows fall, but the Normans are not dismayed.
 In melee resolution, the Welsh give some ground to the larger Levy foot unit.
 While the foot Knights inflict three kills and see off the Welsh spearmen!

Turn 9, the Normans win Initiative, and take First Move for themselves.
 The Fyrd charge against the Welsh, mostly to get out of the river. The Welsh archers see off the foot knights with a few more Kills putting them over the limit.
 This time the Welsh spearmen do well, inflicting 3-1 kills on the greater Fyrd.
 But the Norman Knights inflict 4-1 kills on the Welsh teulu. They also have handy loads of bodies at hand, altho they are almost Fatigued...

Turn 10, the Fyrd roll crazy well, and inflict massive kills on the Welsh spearmen, pushing them past their rout point and they flee the field.
 However, they themselves take a Hit and retreat across the river!


The Norman levy leave the river, flank the Teulu, and with the knights see them from the field. The Welsh archers will not be able to withstand all these incoming units most likely, but for a draw they just have to stay near the bridge!

Despite Fatigue, the Fyrd rally in the river!

Unfortunately, the Teulu do not, and leave the field.

The Norman knights are feeling aggressive, and charge the Archers - they are not dismayed and inflict some kills on them, wiping them out!
 No more Knights!
 But now the Fyrd advance, and there are too many of them for the humble archers to hold off, plus they are Fatigued. They lose a melee and Retreat a move.


With another Fyrd advancing to help, it seems that the Normans have managed to take the bridge and advance farther into Welsh lands!
Another solid game, and an interesting one. I've played this scenario a bunch and it went down the usual way, except that the Welsh were unable to hold off the Normans as they entered too close to them. Would've been better if the Archers had entered at points B or C, so they would have more space to shoot up the Normans. It was impressive that they saw off their two best units, the Serjeant Archers and the Knights, but in the end the humble greater Fyrd were able to mob them and force them off the table.
Interesting fight, lots of fun!
No comments:
Post a Comment
Thanks for your comment! t will be posted after it's moderated.