Sunday, May 7, 2023

Mordheim! The Battle for the Ruined City Begins...

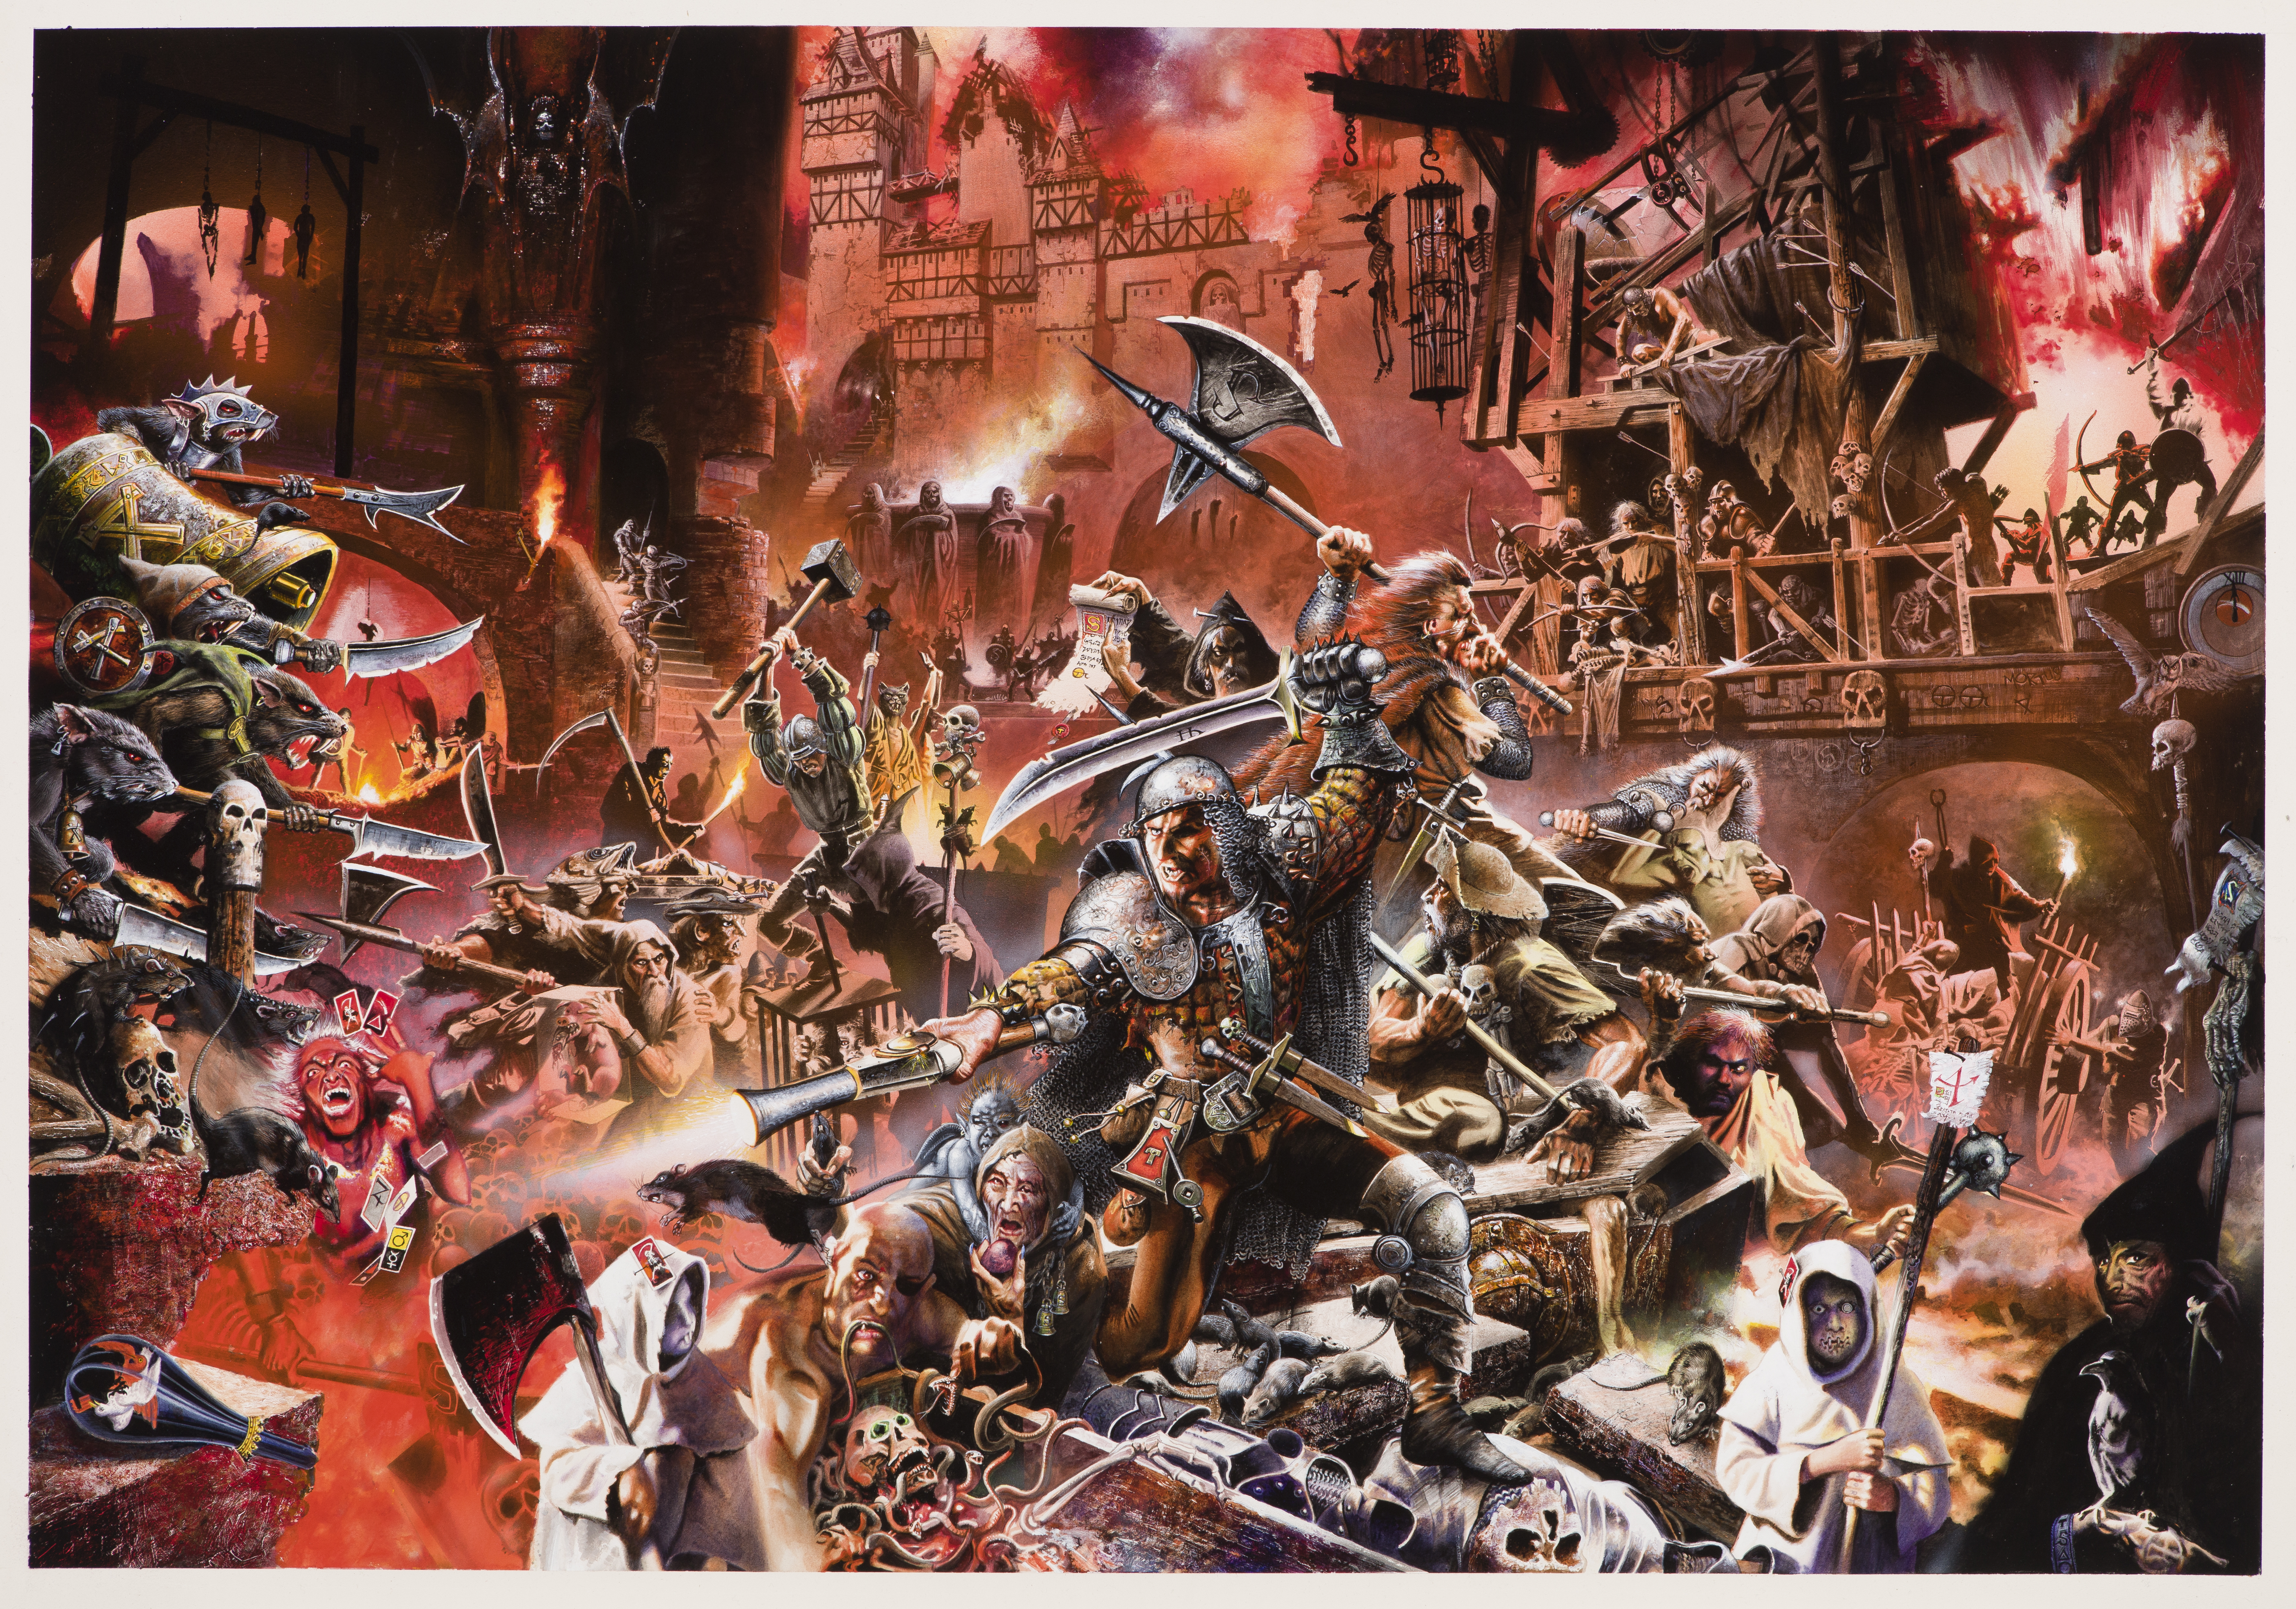
Well, judging from the cover, it's already well under way!


The Illustrious and Nefarious Bands
Left, Generic Mercenaries [all figs armed as depicted]: 
Hero with Hvy Armor, Sword, Shield, Helmet.
Champion with Hvy Armor, Helmt, 2-H Sword
2 Marksmen, Handgun, Pistol, Helmet
2 Spearmen, Spear, Shield, Helmet
[created with battle roster v.2 from Broheim - CLICK]

Right, Undead
Vampire - Bow, 
Necromancer - Bow, Necromancy Spell - "Call of Vanhel"  allows a fig to make a second move in the Shoot Phase.
2 Dregs - Bow, groveling, whining
2 Ghouls, 
2 Dire Wolves,
Zombie. 
Sort of a Sherwood Forest Undead warband...

Rolled for scenario, got "lower Warband rating picks scenario". As we didn't know what to pick, I rolled again and we got Scenario 6, "Chance Encounter".

Basically, you set up diagonally opposite each other; the side that sets up second has the advantage of seeing the other's deployment, but can't be within 14" of the opponent's figs, so is pushed back farther into their table quarter - clever!

View after setup - looks like we erred in spreading out past our respective table quarters...oh well, next time...

Cunning plan for my setting up second: 
Two Handgunners cover the open space from cover. 
To left, diabolical Vampire with Dreg on 3F. Below, just visible at Ground level, is ghoul, with Necromancer & Dire Wolf behind him.

To the right around the corner of the right-most Handgunner, is the other portion of the Undead Warband [blurry]: Zombie, Ghoul, Dire Wolf, with a Dreg above in the 2F w'bow.
Stacked up from unflankable position: 2 Spearmen, Champion on left, Hero on right.  Ready to serve bench warrant for "unlicensed use of human corpse for diabolical purposes".

First turn, exchange of shooting: Vampire 1, Handgunners 0.
Above, Handgunner "Out of Action"

My assault team partially advances into the gap - despite all figures having Ld 8 from the Hero Captain, both spearmen fail with an 11 and 10, representing what will be their highest dice rolls for a long while.  Undeterred, the Champion and Hero engage the Zombie and Ghoul; Undead counter by Dire Wolves re-positioning.
Despite getting first strike for charging [missing], Hero is Knocked Down by Ghoul who Hits, then rolls Critical Hit to Wound [2x6s], but despite the bonus hit only knocks down the Hero, twice [2x2s]!  His head bounced on the pavement...

Dire Wolves Charge in, only to miss with their slavering jaws, 4 times...This trend would continue for both sides...

By Turn 4, there have been plenty of chances for the Mercenaries to tip the scales in their favor, but poor dice have them still slogging away with an Out of Action Hero at their feet, and two Knocked Down undead beside them: Dire Wolf and Zombie. "They just won't DIE, Sir!!" say the Spearmen...

By Turn 6, the situation has further eroded for "the side that breathes", with the Necromancer and Ghoul slowly walking over, the Champion Out of Action, and only the Ghoul Out of Action. The Mercenaries are struggle to roll the series of 4+'s needed to take out the Undead, and then the 5+ needed to put them Out of Action.
With the Champion Out of Action, the Mercenaries have to pass their Rout Test, which they consistently do for the rest of the game - stupidly, perhaps, but heroically for certain.

Vampire dashes over [12" Run!] while Spearmen finally puts a Dire Wolf Out of Action.  But the Vampire is a serious killer...

Turn 8 isn't that great for Mercenaries. Repositioned Hangunner gets a Hit on Vampire with Handgun, then fails to Wound - is Knocked Down by Vampire, who fails to put him Out of Action. Dreg mosies across the table after Falling from height.  Closer Dreg Knocked Down from Falling, also [Dregs failed the climbing portion of Warband School, apparently].
Above, Lone Spearman fights on...

Finally, Undead Turn 8, Vampire turns around and serves an "Out of Action" sandwich to the final spearman, stomping his face into the dirt in a most diabolical fashion!

SCORE
Undead clean house for 6
Mercenaries get a measly 2

There's some fun stuff about Warpstone in the scenario, and basically each of my Heroes had one shard, and they both end up in the hands of the Undead, who walk away with 3 total.  This mostly impacts campaigns, so for now it's just bragging rights.

I feel like the game rewards the opening and positioning tactics, but once you are engaged in melee numbers come into play.  I really needed some more bods, and will remedy that for next time.

The Handguns are too expensive and only shoot every other turn, so it is certainly bows for next time.

Overall, the game was hilarious and has tons of fluff and feel to it, and is a must for anyone who really loves the Warhammer world.  With free resources at Broheim.net and 10-15 classic Warhammer figures, anyone get throw down and have fun with this game!

Saturday, May 6, 2023

Fighting for Empire with Neil Thomas' AMW

The rules and changes worked well - satisfied, I got my buddy Ken to throw his Germans and Imperial Romans on the table over at his place. After a few explanations, we set up and had a pretty gripping battle that oriented around key decisions:
- when to commit the main battle lines
- how to manage the two flanks: on the one hand, you would like to gain an advantage and flank the line. OTOH, you don't want to risk losing your flank troops and getting rolled up yourself!

The Romans had all the legions in the center. On the left flank, covering a steep hill, they put two Light Infantry [Jav] to delay two Warbands. The center four Warbands faced off against the legions, while the Roman right tangled their Roman heavy cavalry and Auxilia against German Heavy Cavalry and Light Infantry [Bow] - then a Warband jumped in....

Below, the decision as to when the main battle lines should clash was not easy to make. I made a partial commitment with one Legion against a Warband, rolled poorly, and quickly found the entire right half of my army in jeopardy as the flank was already doing poorly, with the cavalry slowly losing to the German cavalry, and the Auxilia slowly losing to a warband.

Below, from the right, the Roman heavy cavalry, Auxilia and a legion hang on best they can against a lot of German pressure in the form of their heavy cavalry and two Warbands [the Light Infantry [bow] dashed away before the Auxilia could finish them off]. To their left, one Legion is doing poorly, over half gone. On the hill, the legions are holding their own or staring down their opponents.

Below, on the left, the Roman Light Infantry shot, maneuvered and fought to destroy a Warband and most of a second. This cost them nearly all of both Light Infantry, and the steep hill protecting the Legion's left flank is pretty much secure - there are no strong troops around as there is only one stand of Warband and one stand each of two light Units.

Below, a couple turns later, the Roman left legion had pushed back the opposing Warband, while the Warband on the hill destroyed a Light Infantry - it then began advancing against the rear of the legions, but was in a very weakened state, only one Base. The Roman right units were all destroyed and the center legion in reserve had to slowly shift to the right, just barely making it in time to prevent an ugly flank attack.
Unfortunately, the loss of the right-most legion resulted in a break test, which the Romans failed, resulting in a German Victory!

No complaints with how it played out - there being no decisive result in the center or the left, the right flank ended up deciding the battle. Had the Romans passed their Break Test, they may have forced a roll by the Germans instead. 

One problem was that the Germans managed to extricate their units from destruction [except one warband] while the Romans were not able to do so. Something the Roman player should keep in mind next time...


And next time happened just a few weeks later....