
Last post, I adapted an historical battle into a scenario and the troops into game terms - I chose Scenario #9 "Double Delaying Action" from One-Hour Wargames, and for rules "Chainmail" 3rd ed. by Gygax / Perren as the ruleset that has been inspiring me quite a bit lately.
Earl Aelfgar and some ferocious and sympathetic Welsh.
The Earl is a Grenadier fantasy figure - "fantasy" of the best sort.... it is based upon history. The Welsh are Old Glory 25s, from the later Welsh medievals with longer spears and smaller moustaches. There's a few Foundry figs floating around also.

King Gruffydd ap Llywelyn of Wales [really...William Marshal, but whatever].

Earl Ralph the Timid and some foot Knights determined to hold the camp and keep the road open for the retreat back to the castle. Historically, he should be with the Knights, but I have to give players a choice of deployment... besides, he may stick around longer if on foot!

Now, to fight it out!
Saxon Plan: hold both crossings, causing greater casualties on the Welsh and slowing them down so three Units can escape on turns 4, 8 and 12 - if not, the Saxons lose.
Welsh Plan: The Welsh need to get to grips with the Saxons as hard and fast as possible, preventing the retreat of the three units AND getting two of theirs off the table by turn 15. If not, the Saxons can retreat to Hereford castle, which is only 2 miles away, close the gates and deprive them of major looting. This would be a Saxon victory based upon the historical result.
Strategically speaking, if the Welsh drive the Saxons into the castle, they will still be able to ravage the countryside, as there aren't other Saxon forces around to help Earl Ralph and his Norman / French mercenaries.

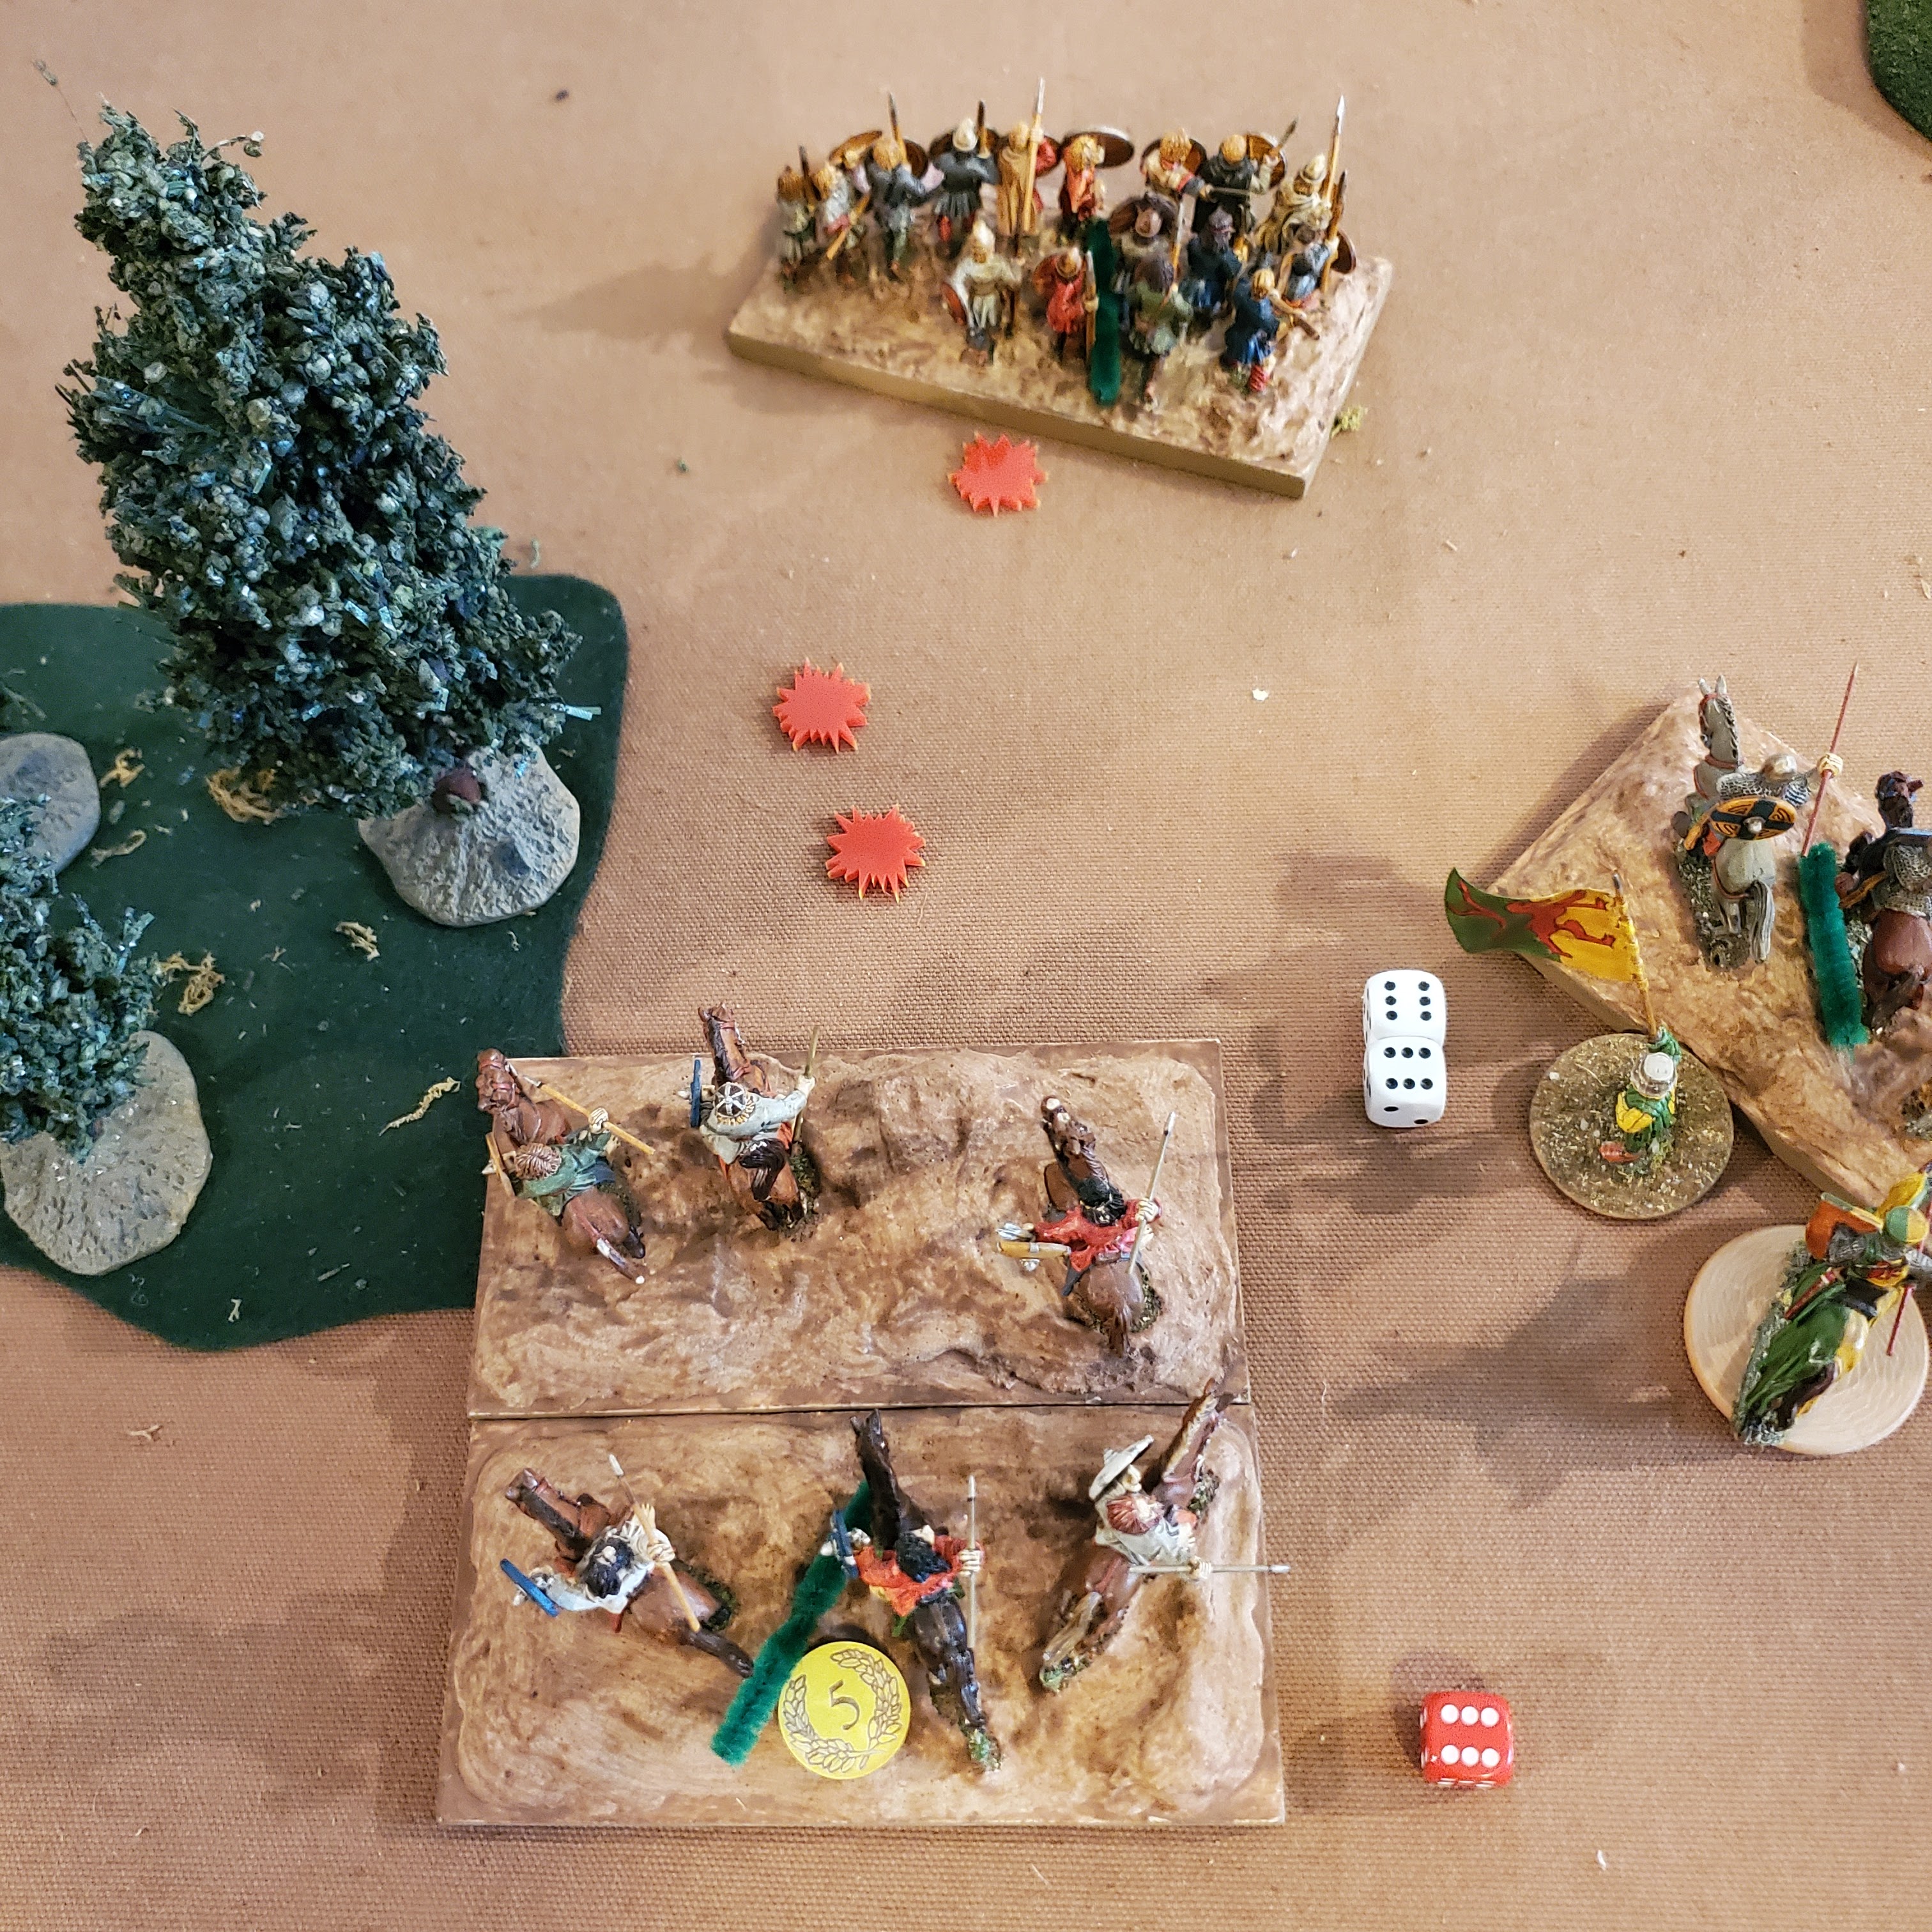
Opposing them, are the Welsh teulu heavy cavalry supported by their retainers who've managed to just barely be in javelin range, and a unit of Archers.


The knights are game to fight and charge the teulu in their move phase.


Turn 3 Saxon Move Phase. The Fyrd manage to pass - barely - on an '8'. They

Saxons move the other Fyrd to the edge of the board - it must exit on Turn 4 or the Saxons will lose. The Archers Rest and remove 5 Fatigue.

In the melee phase, the Welsh take it on the chin, 7 kills to 3! Early Ralph isn't looking very Timid at this point...The Welsh fall back a half a move.

On the left, the teulu and knights continue fighting hard, altho King Llewellyn is keeping a small edge for the Welsh. As both are at 50%, they have to check to stay in the fight, and easily do so with a 10 and 12.


In Turn 4, the Fyrd leave the field as planned, and on the right both sides Rest and remove Fatigue, preparing for more fighting ahead.


Turn 6, the Welsh win Initiative and force First Move on the Saxons.

The Saxons check the morale of the Archers, who pass.


In the melee phase, the Knights reached their breaking point and were removed...
 ...as did the Fyrd, who also were removed.

The whole center is open to a Welsh advance - they could also cut the road!
Turn 5, the Saxons win and take the First Move.
 This may enable them to exit the foot knights by Turn 8 if they can break the Welsh spearmen with shooting from the Archers. It doesn't solve the problem of the Welsh cavalry on the left, however. These two units choose to Rest.
 The Welsh Archers meanwhile have positioned themselves to engage the Saxon archers. In the shooting phase, the Serjeants earn their paycheck, and push the Welsh spearmen over its casualty limit - they are removed.

Turn 5, the Saxons win and take the First Move.


Unfortunately, the Welsh archers manage to put one kill on the foot knights, who leave the battle being at 66% - they take Ralph with them, who is earning his nickname!


Unfortunately, the Saxons no longer have enough units to meet their victory condition to retreat one on Turn 8 and one on Turn 12. The Archers are also vulnerable to more shooting and a charge by mounted heavy and light cavalry, so will probably be wiped out. They concede.
Well, the historical result came about. I'm uncertain it was because history had to repeat itself here, however. I think I made an error in trying to hold the ford, and should have collected all my Saxons on the hill and closely supporting the road and the camp. Then it would have been easier to retreat another unit or two, even if they were only the hunters and a Fyrd.
This is an interesting scenario, and I will have to play it again with different tactics for the Saxons. One of the great aspects of the One-Hour Wargame scenarios is their immense replay value. Try a different plan, change a unit or two, and the scenario could play completely differently.
I felt the "Chainmail" rules worked well, altho I need to clarify a couple of aspects of the Retreat / Rout rules, and I'm still not satisfied with shooting. I like the Fatigue mechanic, and the supporting / withdrawing from melee mechanics. This was my first use of the leader rules, and they worked just fine, helping to tilt the balance a bit but not overwhelming the game. Felt very realistic.
More reasons to play more games!
No comments:
Post a Comment
Thanks for your comment! t will be posted after it's moderated.