What would the design teams of "Empire III" and "Advanced Squad Leader" say about this???
"One-Hour Wargames" rules are pretty sparse - which is why they are so short! Essential mechanics have been left for the players to decide. Some aspects must be defined or clarified, no matter what your gaming preferences are. In other words, there's no way of playing the game without these coming up and then having to be discussed. It's all well and good if you're hanging out with a friend - especially one who isn't a wargamer - but the tendency of people to argue to their own advantage, OR, the need to explain to a willing participant, means you may as well think about them now and make a decision on them.
Missing and Must Be Decided
General
- Premeasuring allowed?
- rounding fractions in favor of attacker, i.e. ANY fraction UP? so 2.25 Hits = 3 Hits?
- Unit Size dimensions are loosely given, typically 4-6" in the rules, with a few like guns being half that. It MATTERS for a number of mechanics AND how many units fit onto the table top in certain spaces, how wide the units are. Depth isn't as important.
Movement
- Crossing River at Ford / Bridge, i.e. rate, cost, bridge model
- Road Movement, i.e. how does the 1-base unit do it?
- Charging; How to Contact [corner-edge? edge-edge? full / partial alignment?]
- Measurement point for move distance to Contact?
- Cavalry retreat from Hand-to-Hand, e.g. 6" move any direction or straight back?
- turning and corner / edge interpenetrating friendly / enemy units.
Shooting
- measurement points to / from Units [center-closest? center-center? closest-closest?]
- measurement point for Unit occupying town?
- Firing Arc, i.e. how is a Unit "within" 45 degrees of the front facing?
- How much of a Unit needs to be seen to be targeted?
- How large a gap does a shooter need to fire through?
- Line of Sight, including through / within / across Area & Linear Terrain, and over units [especially important for artillery Units].
- Can you shoot into a melee [Ancients, Dark Ages, Medieval, Pike & Shot rules]?
Terrain
- How many Units may occupy a town? If 2+, how to work the 360 fire arc?
- what's "in" woods / town terrain? [entire Unit or Unit Edge] [Partially or fully] within?
- How does a Unit "occupy" a hilltop? Same as "in woods / town" above?
MY DECISIONS
I generally divide the periods into Ancient [Ancient thru Pike and Shot] and Moderns [Horse and Musket to WWII]. The general concept is that modern armies begin when training is widely introduced to make movement and shooting more predictable.
General
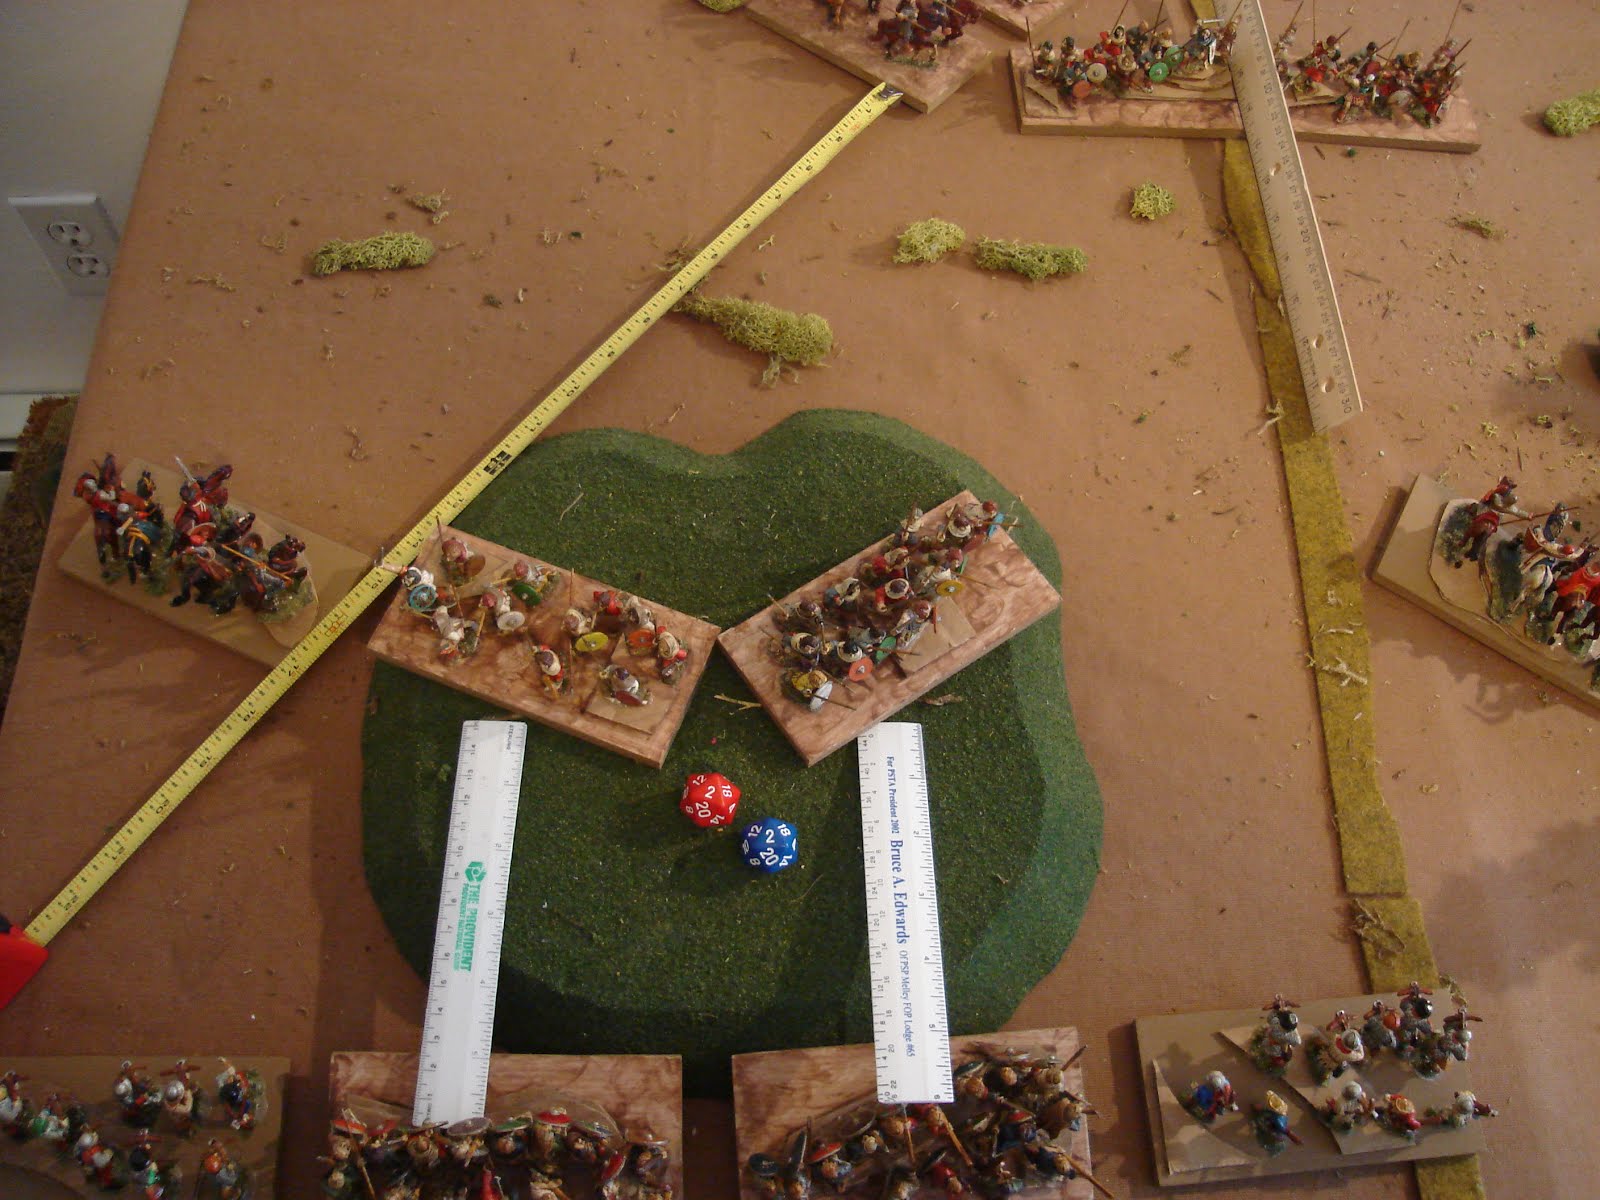
- Premeasuring is allowed;
- Any fraction is round UP. This "minimum" Hit of '1' gives a little satisfaction on a bad roll, and it also is justified by how intense and tiring combat is.
- Unit Sizes: For Ancients, I field units on a 2-1 front / Side base size ratio. My Medievals are all being rebased to 5" front and 2.5" deep. This is close to the WRG / DBx standard of 12cm front by 6cm deep. I then use the Base Width [BW] of 5" and Base Depth [BD] of 2.5" as measurement tools. For Moderns, I will be using multi-stand units about 4cm x 2cm in size, and they take up about 5-6" wide on the table.
- Line of Sight [LoS] I handled using the 2-1 base width-depth ratio. For a shot or charge, an attacker needs a BD of the target unit. So all of a flank and 1/2 the front of the base. The entire LoS needs to be within range, so again it would be the entire flank side of the base, or 1/2 of the front side of the base - the 1/2 front side doesn't need to be center to corner.
Movement
- Crossing River at Ford / Bridge, i.e. rate, cost, bridge model
I cross at normal move rates, but always make the river about an infantry move wide. So the most common units spend a turn crossing.
- Road Movement, i.e. how does the 1-base unit do it?
for Ancients, I let any contact with the road count, as they are mostly just a rough track or trail, anyway, and hasten movement not due to the quality of the road itself but due to the ease of staying on course. For Moderns, I have multiple base units so they just move along the narrow side of the base, each base upon the road.
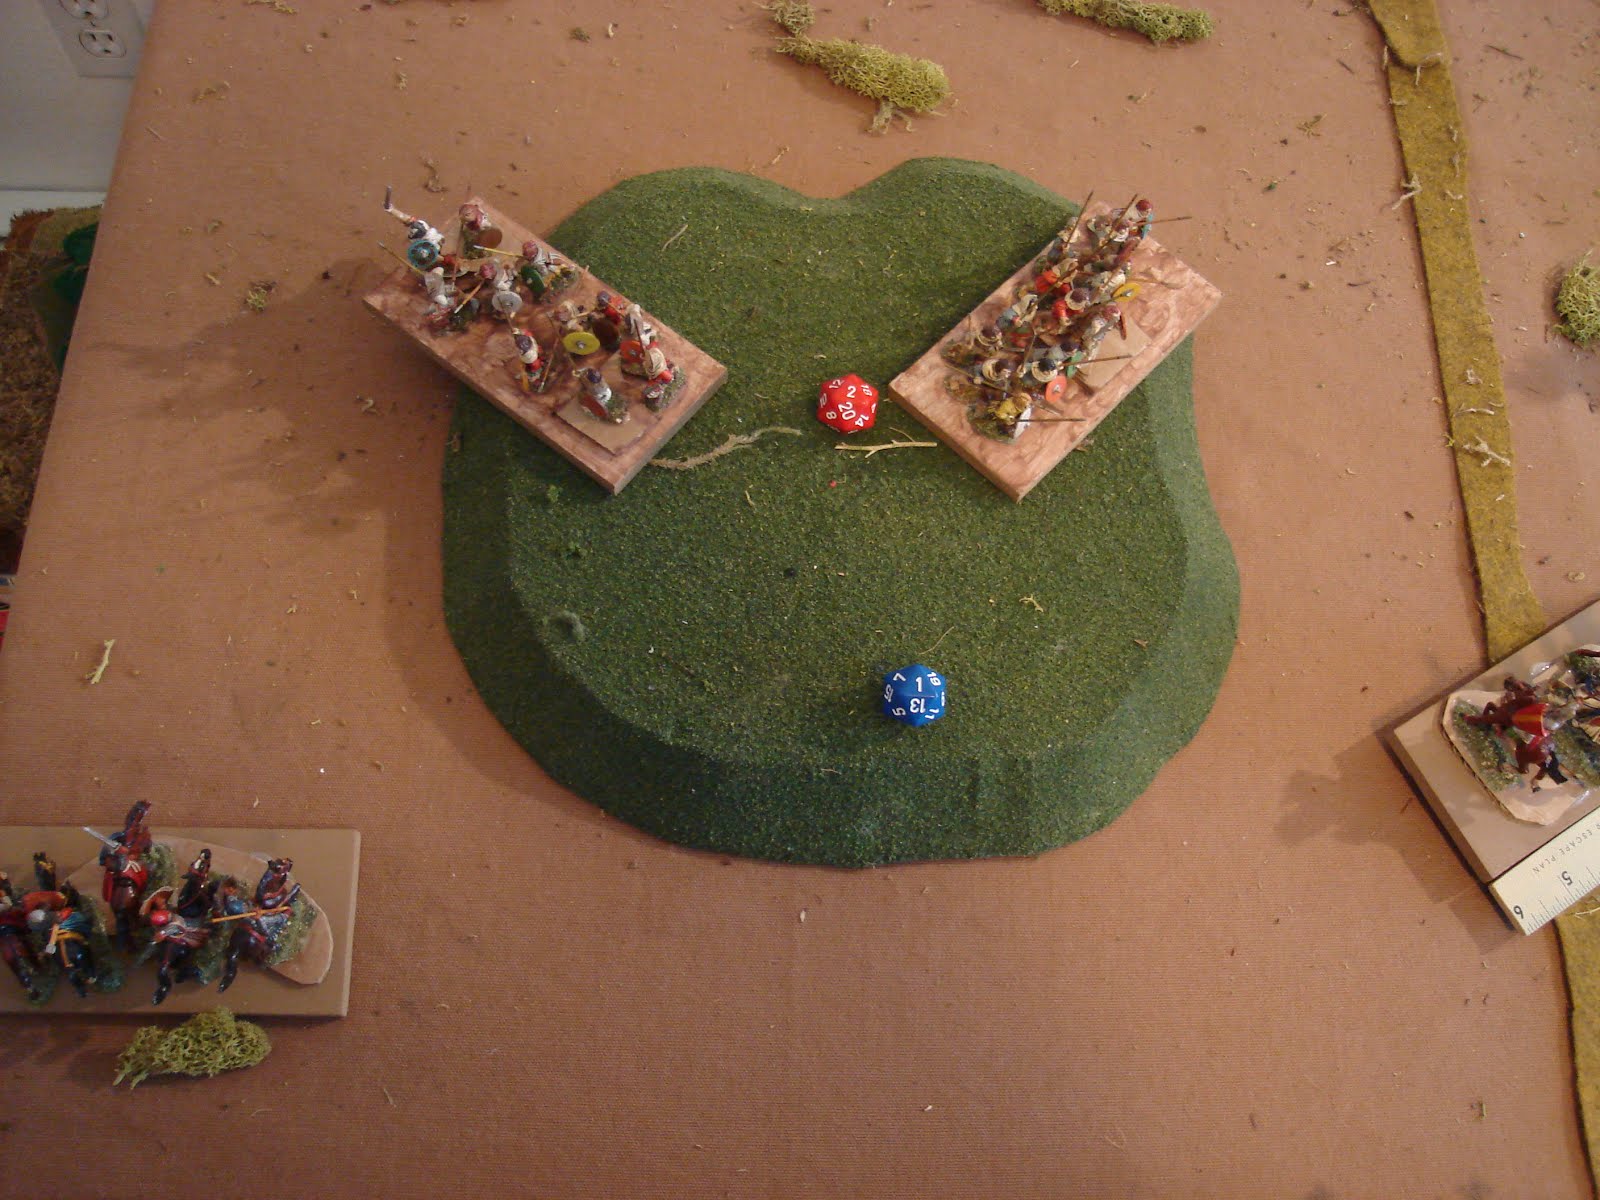
- Charging; How to Contact [corner-edge? edge-edge? full / partial alignment?]
I use edge / edge and maximise contact, with the minimum being half the front, or a BD.
- Measurement point for move distance to Contact? I use charger's front center point to the farthest point of the LoS - a full BD of the base side being charged.
- Cavalry retreat from Hand-to-Hand, e.g. 6" move any direction or straight back?
As I use edge-edge contact, they bounce straight back, HOWEVER, this is a good example where I can see allowing the corner contact along the straight line, and then moving directly back along that same charge line, so no conforming to edge contact.
- turning and corner / edge interpenetrating friendly / enemy units.
I allow this as the Units themselves are an area that has soldiers in it, not that the entire base footprint is entirely packed with people. Also, it's a lot easier on players to move around, especially when they're learning the game.
Shooting
- measurement points to / from Units [center-closest? center-center? closest-closest?]
Front Center point to the entire LoS, which is BD long [half the front, all the side] must be within range.
- measurement point for Unit occupying town?
One Unit per town, so the center of each of the four sides of the square, as tho it was a unit.
- Firing Arc, i.e. how is a Unit "within" 45 degrees of the front facing?
The entire LoS must be with the front 45 degree arc, so 1/2 the front, all of the side.
- How much of a Unit needs to be seen to be targeted?
A BD, or 1/2 the front, all of the side, needs to be in LoS.
- How large a gap does a shooter need to fire through? A BD.
- Line of Sight, including through / within / across Area & Linear Terrain, and over units [especially important for artillery Units].
I use a BD across a terrain edge or line that blocks LoS [e.g. woods, hill crest] or a BD within terrain [woods, town]. I don't allow shooting over friendly units, but if a Unit is a full level higher or more than an intervening enemy unit, I allow them to shoot if that unit is closer to them than the target unit.
- Can you shoot into a melee [Ancients, Dark Ages, Medieval, Pike & Shot rules]?
I say yes, as long as you have a Line of Sight. This is b/c I don't see melee as continuous, but a series of short, sharp attacks with times of breaks in between. This also allows bowmen and Skirmishers to support other units during the game better.
Terrain
- How many Units may occupy a town? If 2+, how to work the 360 fire arc?
One in Ancients - so the square town is like a unit. In Moders, I let them fight through towns like they are woods, in effect.
- what's "in" woods / town terrain? [entire Unit or Unit Edge] [Partially or fully] within?
I say entirely within area terrain to get a defensive bonus in melee. For shooting, if the LoS has the terrain between, then the unit gets the terrain bonus.
- How does a Unit "occupy" a hilltop? Same as "in woods / town" above?
I use a military crest, usually, so I define this by being "uphill" of the opponent in melee. If both are across the slope and appear "equally" situated from uphill to downhill no one gets a defensive bonus.
While there are many different rule sets out there that handle these mechanics and situations differently, I've tried to choose a series of intuitive, visually obvious means to solve most of the issues in the simplest way possible. Additional nuance is usually BOTH tedious and a-historical. An overall difference is best expressed with something simple, like Cavalry is faster than infantry, so it has a 12" move rather than the 6" infantry move.
Hope this list helps you to more easily prepare to play these rules and start considering your own way to handle the various situations that arise.