
...after a wild first 6 Turns, we are wondering if the Saxons can hold the center hill and bring up reinforcements fast enough to relieve the heavy infantry holding on there. Let's see!
Turn 6 Bretons. Their heavy infantry are within a Base Depth [BD] of the Saxons, so they may charge them. Using the bases as a measurement tool can really help speed up the game...


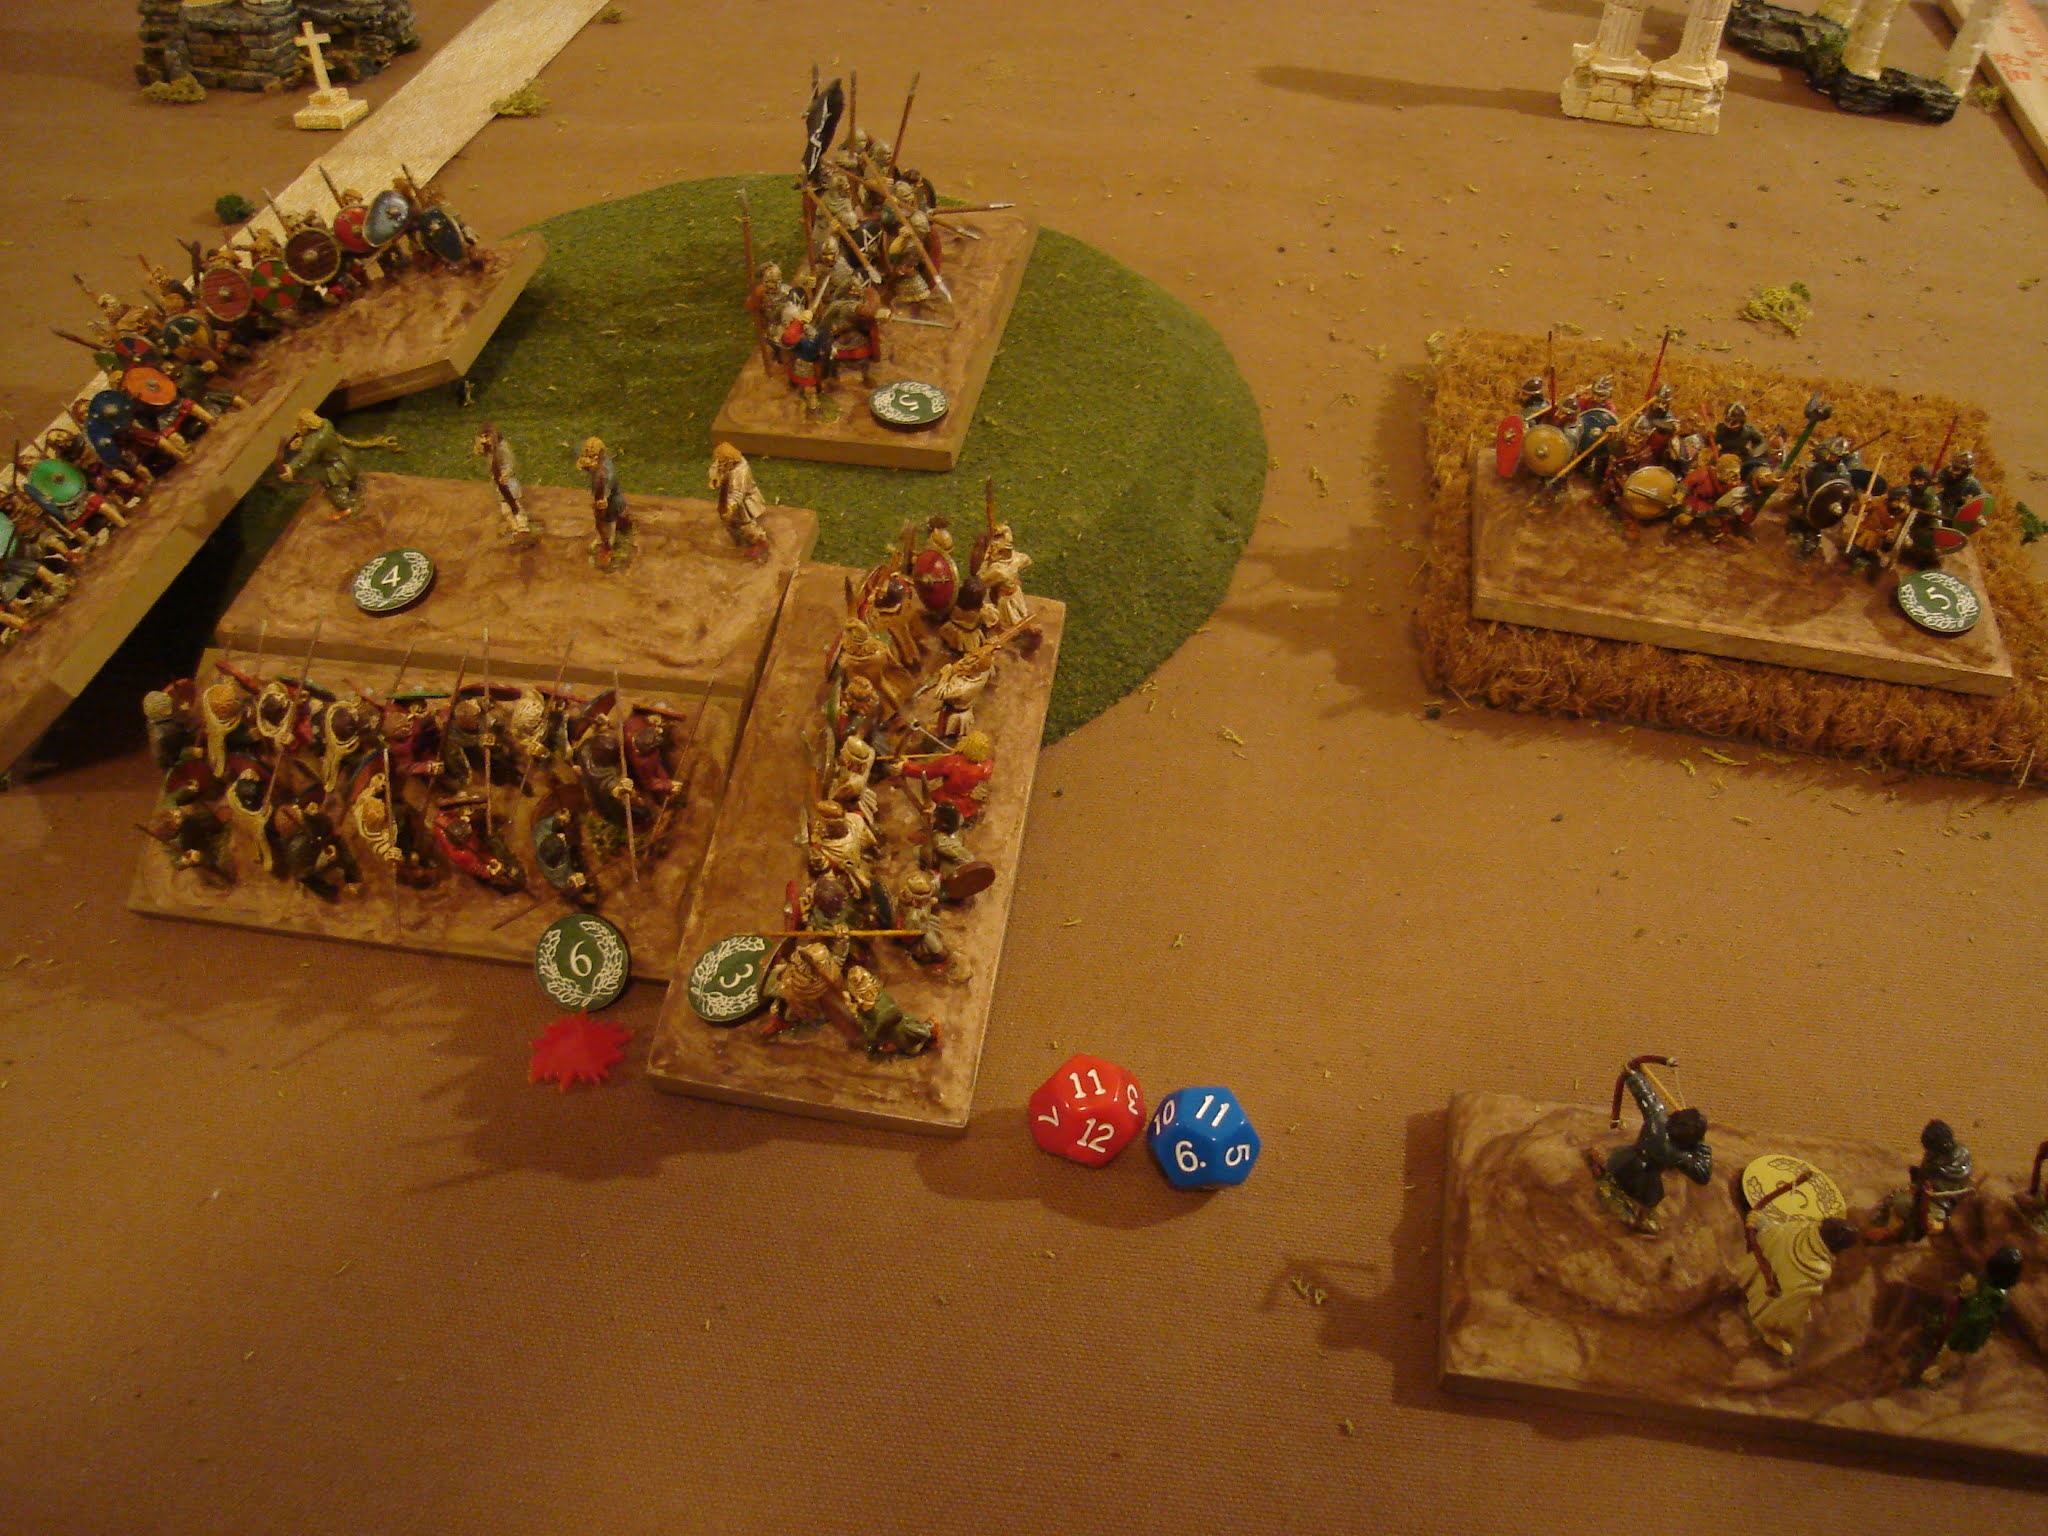
Saxon Turn 6. The heavies roll a '1' for morale and retreat a BD. This means they can't fight back this turn. Their Warband roll a '3' and decline the opportunity for further glory by advancing. The Freemen move up, and the skirmishers inflict a hit on the light cavalry.

What!? The Saxons seize the IN and choose to go first for Turn 7!

Saxon Turn 7. The Freemen charge the Breton heavy infantry and roll 2/2 hits! The Warband charge the cavalry and also get 2 Hits. The skirmishers inflict one hit and are destroyed!

Breton Turn 7. The heavy infantry roll a '2' for Morale and can't move. Their skirmishers move up and inflict two Hits on the Freemen, however, and the cavalry inflict 1 Hit back on the Warband. The reinforcing Freemen move up and threaten the skirmishers, but are also heading to the hill, which is the objective. They may squeak out of this situation yet...

Saxon Turn 8. They pass all their Morale checks - tasting victory? Warband roll 3/3 Hits, and severely cramp the style of the cavalry.
 Saxon turn ends with their heavy infantry rallying off one hit, getting down to '5', and inflicting hits on the Breton heavy infantry, cavalry, and freemen. they also got a Freeman reinforcement. A nice turn.

 The heavy infantry also roll a retreat, and are able to go back the full distance, but are still in contact.

...so they take a bit of a risk and hope they will wipe them out quickly. The foot skirmishers miss but the horse skirmishers manage another Hit. In Melee, the heavies inflict one hit, bringing the Saxon heavy infantry to 6 Hits - one more and they are dead! To cover their flank and rear, the skirmishers shift right and the cavalry attack the Warband, inflicting 2 Hits - double the average! Bretons also get a reinforcement of Freemen - a great turn for them!


Breton Turn 8. The Cavalry roll a '2' but are -1 due to the yellow Hits, and need to retreat - unfortunately, they can't retreat the full distance b/c of the skirmishers, so take another Hit. Ugh.


The Freemen shake it off and move forwards. The Skirmishers inflict another hit on the Saxon Freemen. A weak turn...perhaps, but this is still anyone's game.


 The Bretons also get a Freeman reinforcement, and attack the hill with the other Freeman. They roll well and inflict two hits despite them being uphill. However, on Saxon Turn 9, they roll extremely fortunately and inflict 2 Hits back! Their heavy infantry help gang up on the Breton heavies, but the warband completely miss, and fail to finish off the cavalry - argh!

And then, for the umpteenth time, the IN switches and the Saxons take it for Turn 10 - more turnovers than a pastry shop here! What are the odds??
 Oddly, I appear to not have taken any pics of Turn 10...must've been a bit dull.

And now the Bretons - who have tied a knot at the end of their rope and are hanging on - win IN! It's a no-brainer decision for them, they will take the first player turn for Turn 9.

Their skirmishers inflict a Hit on the Warband then retreat. The heavy infantry turn to face the Saxon Freemen and put a Hit on them.


Turn 11, Bretons win IN back. I hardly know what to say at this point.

Well...Turn 11 sees the Saxon Warband having eliminated the Cavalry but take some more Hits. The heavy infantry and Freemen eliminated the Breton heavy infantry, and then the Freemen moved on to attack the Breton Freemen attacking the skirmishers on the hill, who are being held by the Skirmishers. Meanwhile, both sides have Freemen fighting on the hill. Overall, I think the edge is to the Saxons since they hold the hill in strength and the Bretons haven't managed to finish off another Saxon unit altho there are two at 5 Hits.

Turn 12. Saxons seize IN back.


Turn 12. Saxon skirmishers drive off the Freemen, albeit with help from their Freemen. The Warband and heavies have failed to Rally off Hits. The Breton skirmishers got dinged along the way. Altho a couple of Saxon units are at the end of their rope, I don't know that the Breton skirmishers are the right unit to defeat three units and save the day!

Saxon Turn 14, Breton Turn 13. The Bretons are trying for the draw, by sticking their dirty toes onto the hill! The skirmishers eliminated the Saxon skirmishers, but not the Freemen that are nearby.


Well, that was one of the wildest games yet. The chance for IN to change that often is not very high. But it has to happen occasionally.
This makes it worth noting - altho certain mechanics may have an AVERAGE result that is the same as another, that doesn't mean that they have the same possibilities. So in the RAW, there are three attack mechanics, two of which have a minimum of 1 or 3 Hits [d6 and d6+2] so neither can "miss". This results in a steady attrition, even if it is small. I do like this since it shows fatigue even if not a decisive result.
My system - and several others - have the same mathematical averages but do allow the possibility of missing an attack completely. This - theoretically - could result in some "back luck" and a lot of misses. I'm OK with this because if you roll lots of natural 1's in the RAW, you still lose while your opponent rolls average.
Your feelings on this may vary.
This was a great knock-down drag-out fight, and I originally thought the Saxons would lose after some poor choices and results in the first 5 turns. They did turn it around completely and drove the Bretons from the field. This was about the eighth time I played the scenario, and I think I have it mostly understood. I do like the increasing chances of reinforcements arriving with every missed roll. I have had it go down to a 1+ only once, and a 2+ a few times.
Just goes to show that there are plenty of games to play with every OHW scenario, even one that seems as simple as this!
As for the rules, I am very happy with how they have developed, and I really enjoy the Morale check mechanic - provides the right amount of friction with minimum rules fuss, and "feels" right. So a tip of the hat to John Acar and his labors for gamers worldwide!
No comments:
Post a Comment
Thanks for your comment! t will be posted after it's moderated.