
So on a wet, cold, gloomy afternoon we gathered at the home of a renowned game designer and retired military mastermind to give the "One - Hour Wargames" Dark Ages Rules a playtest with the various clarifications I've figured out. For optional rules, I used diced movement and for the cavalry a shooting move with a 9" javelin range and three shots before running out. The light cavalry fought d6-2 like any skirmishers, and the heavier d6-1. I also used the rules for personalities, with the invaders having two leaders - one with banner, and the defenders two leaders and a priest.
We replayed scenario #5 but with double-armies of 12 Units each, on a larger board. This meant some recalculating as I wanted the fight to be in front of the bridge with the defenders fighting _forward_ to keep the bridgehead clear for their use lest it become a barrier for their crossing it. Fortunately, the two experienced gamers present enjoy some thinking and working a scenario on the fly.
Below is the start. On the far side of the river are two columns of reinforcements for the Strathclyde Welsh; four units of Welsh Skirmishers [bow] and three Units of Infantry [shieldwall infantry]. Also, two leaders and a priest.
On the near side, are their advance force, two light cavalry and two armored cavalry, all armed with javelins, and a three-shot limit. This totaled eleven Units, to I forgot one! Despite this disadvantage, the Strathclyders went to battle with determination.

To the left of the road are the North Welsh warbands, five with a Unit of Skirmishers [javelin]. To the right of the road are four Units of Infantry [shieldwall] and two Units of Skirmishers [bow]. They also have two leaders, one with a banner, a white star on a black field, clearly showing on the left.

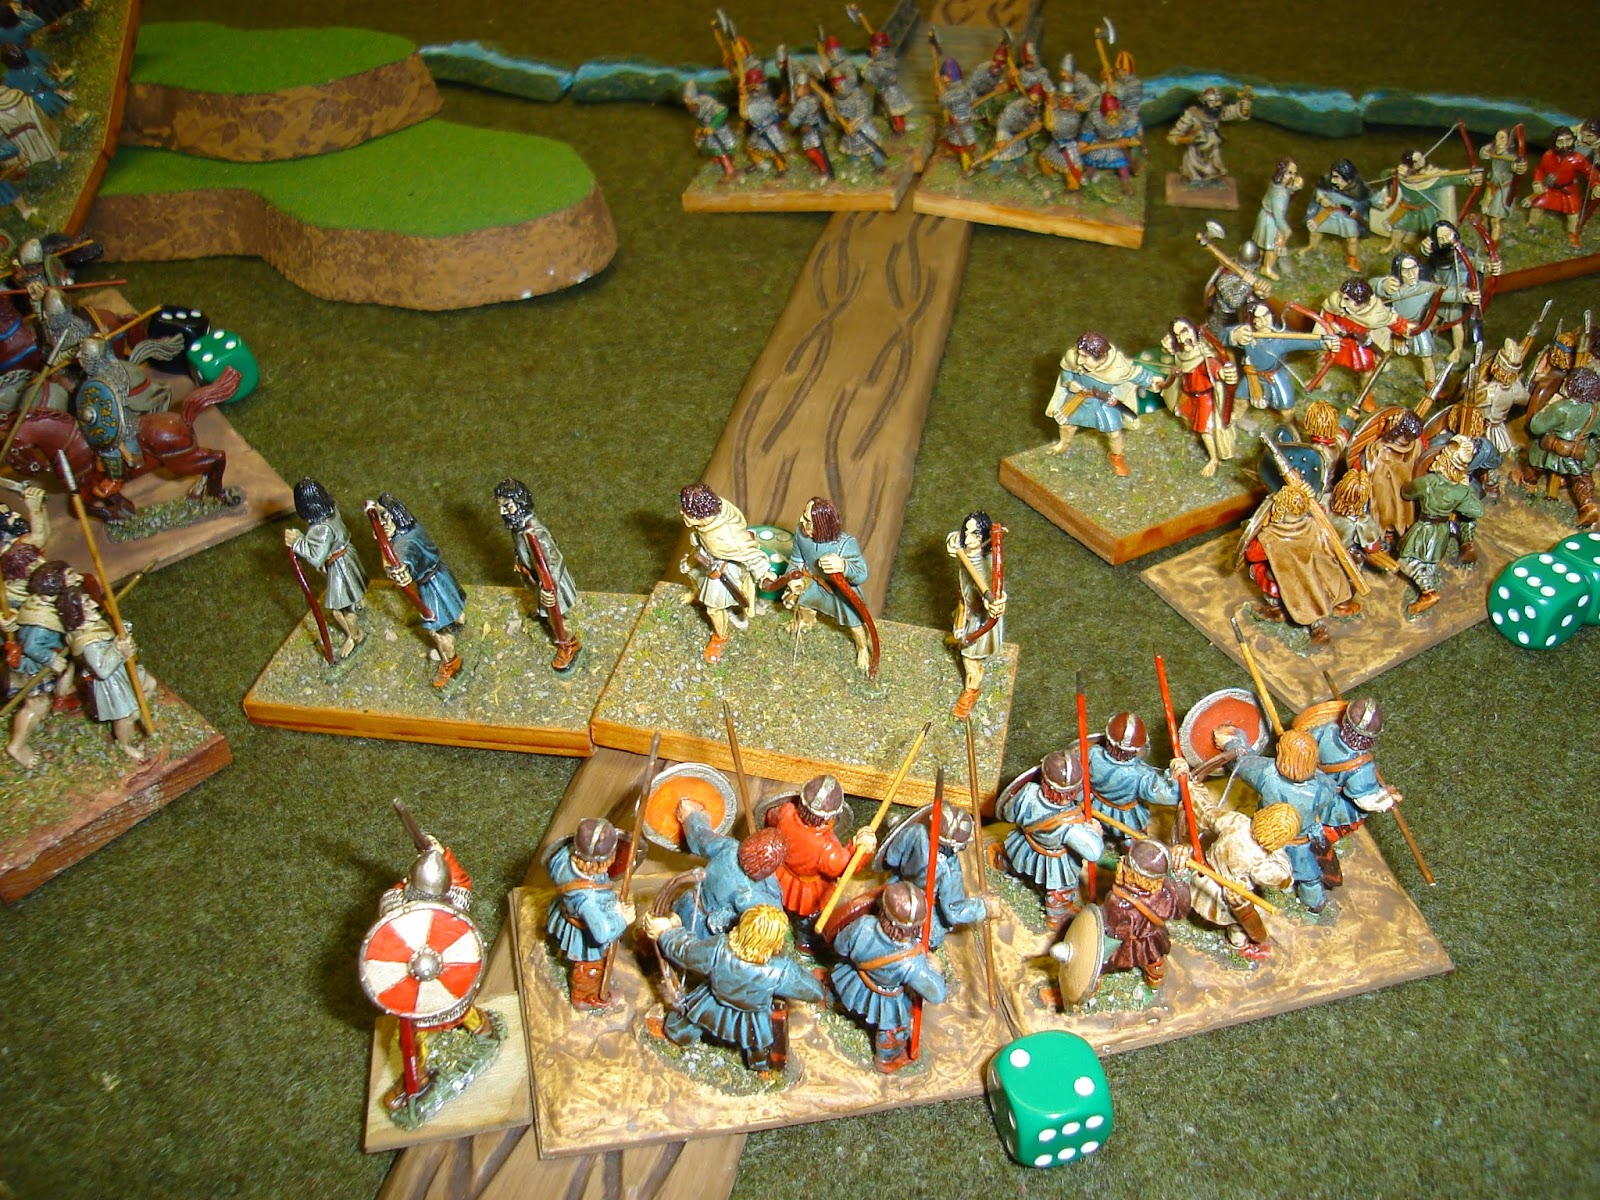
View of the invaders from the Strathclyde Welsh side.

End of Turn 1. The North Welsh advanced, albeit a bit unevenly [unsurprising considering the number of Units and the diced movement rule]. The SW advanced off their hills to meet them, and contest the ground in the valley, playing for time as their reinforcements arrived. The first Unit is a Skirmisher (bow) coming down the road at right. Next Turn, the NW continued advancing on the bridge while the SW cavalry played for time, throwing javelins and retreating.

End of Turn 5. The SW gentry finally arrive, with armor and attitude. They also have their priest. Before them, holding the bridgehead, are the Welsh bowmen who raced ahead with the cavalry to give them time to arrive. Three Units hold the bubble around the bridge. The Saxon greater Fyrd to the right have taken some heavy casualties at 10/15, while all the bowmen have some losses. An SW armored cav is to the left. In the foreground, an NW Infantry shieldwall with a leader cuts into the bowmen, a contest that won't last long!
Sam turn, but overall view. Note the reinforcing Infatnry coming down the road at the right. Also, you can see the situation of the far left light cavalry - engaged to the front by Skirmishers is all well and good, but the Infantry Unit is going to outflank them soon. Trying to take on two Units is not easy for light cavalry with their backs to a river!

Turn 6 or 7. Despite the ferocious, well-developed attack, the SW are holding the bridgehead. Two Units of Shieldwall Infantry are at the top, the SW right. In the center are the armored Teulu, or family, to their left are the remaining bowmen and then the Unit of armored cavalry. Beyond them is the left-most Light Cavalry that was cut off, and is now being attacked on two sides by Infantry and Skirmishers.

On the next turn or so, several of the SW Units broke, the Teulu in the center being flanked by the Warband btw them and the bowmen. They'd held the bridge a long time, and we played until their force was wiped out. The game master [me!] needed to develop a time limit when dark would fall and the NW would have to withdraw. In the end, I opted for an 8" zone of control around the bridge, and the time limit was about a 7 -8 turns. I only noticed now in this batrep that I forgot a SW Infantry Unit! Also, I had the bowmen arrive first, and should probably have alternated bow Units with infantry.
Regardless of the gamemaster's planning deficiencies, both commanders performed well, with the battle in doubt until the very end, and what could have been a victory for either side in a close fight with a "night falls" time limit.
For me, this showed that the rules work well for other experienced players. While contact and melee connections had to be explained a few times they seemed pretty satisfied overall. It is a strike against the rules that the definition of a legal melee contact is not provided since it would not have increased the length of the rules much, and a total newbie would be perplexed by the issue.
The Personality rules work just fine as is. They provided a little impact but not decisive.
The diced movement needs tuning. While it successfully made movement less predictable, "declaring intent" was a bit clunky at times, and it's hard to decide what intents should be permitted. For example, should barbarians be allowed to stop at a point to stay in line with one another? Or would they only be able to recognize the general's banner? Would they ignore it completely in the adrenalin of the upcoming fight? These are some decisions the GM has to make for the forces involved. For this battle's forces, I'd say that the Warband can only stop movement at a banner, or a terrain feature, or contacting an enemy Unit. The Infantry may stop to align on a friendly Unit. That should solve the whole untrained but enthusiastic aspect of these troops.
The javelin throwing needs tuning. While it worked OK, and it wasn't hard to track ammo, the throwing during movement is not smooth. First, it violates the turn sequence. Second, it violates the rule about when to change facing [RAW is at start and end of the move] and I want to stay in tune with NT's rules as much as possible. The goal is to make cavalry Units hard to catch but keep shooting simple. There are mechanical difficulties with using NT's solution which is a 12" shot and allowing shooting at the end of movement, but it is the easiest. It probably will work with just a qualification about targeting and intervening obstacles and LoS. So I would run with the rules from the Pike and Shot section p.32-33, with my clarifications in italics:
Cavalry and Infantry armed with javelins may shoot at the end of their move. They may shoot at a single target within a 45 degree arc and 12" range. They must have a clear LoS to a full Facing of the Target Unit, and terrain that hinders or obstructs movement must be over 6" away from them. They get three shots.
Most importantly, both players fought hard in what was a demanding scenario in a period they don't know well with rules they'd never played, and responded with good tactical planning and only a few very legitimate questions. I didn't even give them a QRS, which I will next time!
So my thought is that with some playing, and a few decisions on that which was left out of the rules, these play just fine for the Dark Ages in Britain, as is their intent. If you want to go early Dark Ages and do the Fall of Rome, or Byzantium, then a lot more thinking and planning would be needed but the mechanics and platform are there.
This is still a very good deal for $17 or so, and the thirty scenarios are a huge help! While I could've done a "let's line up and bash at it" scenario, I opted for a complex and demanding one, which the players enjoyed.
Very cool. It's nice that the game works with bigger forces too -- it leaves room for expansion. Start small and get bigger if you want to go that route (which I might for some eras).
ReplyDeleteI think the main issue with large forces becomes setup - if there's too much concentration you may quickly outflank and destroy smaller forces. The diced movement helps alleviate this somewhat, the rest depends on the scenario.
ReplyDeleteOk, now finally I ordered the book for good (amazing how long one needs to part with a few bucks that are much better invested here than with two meals in the fast-food-restaurant of your choice). Seems you had fun trying out several modifications at once. Why did you combine "diced movement" with "declaring intent"? Wouldn't the former give the unpredicatbility you are looking for even without the complications of the latter?
ReplyDeleteOlivero
Declaring intent means that you may try something that is daring but if you roll low leaves you exposed. If you just dice movement, you can still play conservatively much of the time.
ReplyDeleteI've removed declaring intent and made it optional for the reason you put forward, as well as "keeping it simple". I am even now compiling my summary of the rules, clarification and changes I made, and hope to post them soon.