
Hero does happy dance on cave troll - news at 11...

Decided it was high time to intro one of my gaming pals - Ken here titled "Kenhirrim" - back to the Middle Earth Strategy Battle Game. We played back in the day when it was LOTR SBG, and a few other names.
We opted to use his Saxons as Rohirrim, so I made a 350 point Rohan list featuring a Captain, Hama and his son Haleth, and 23 warriors [with Spear and Shield, as Saxons].
The Moria Goblins were the antagonists. At this points level they had my favorite build: Durburz, a Captain, a Shaman, a Cave Troll, and 30 Goblins, five with spears, rest with nothing added.
Set up a simple twist on "Scenario 1 - Domination", but using only the one central objective; here, a cart of supplies that has broken down in a strategic pass through the hills. Both sides had to set up 12" away from the objective, and we alternated setup by Warband. As we closed in on each other, there was some shifting of the battle lines:

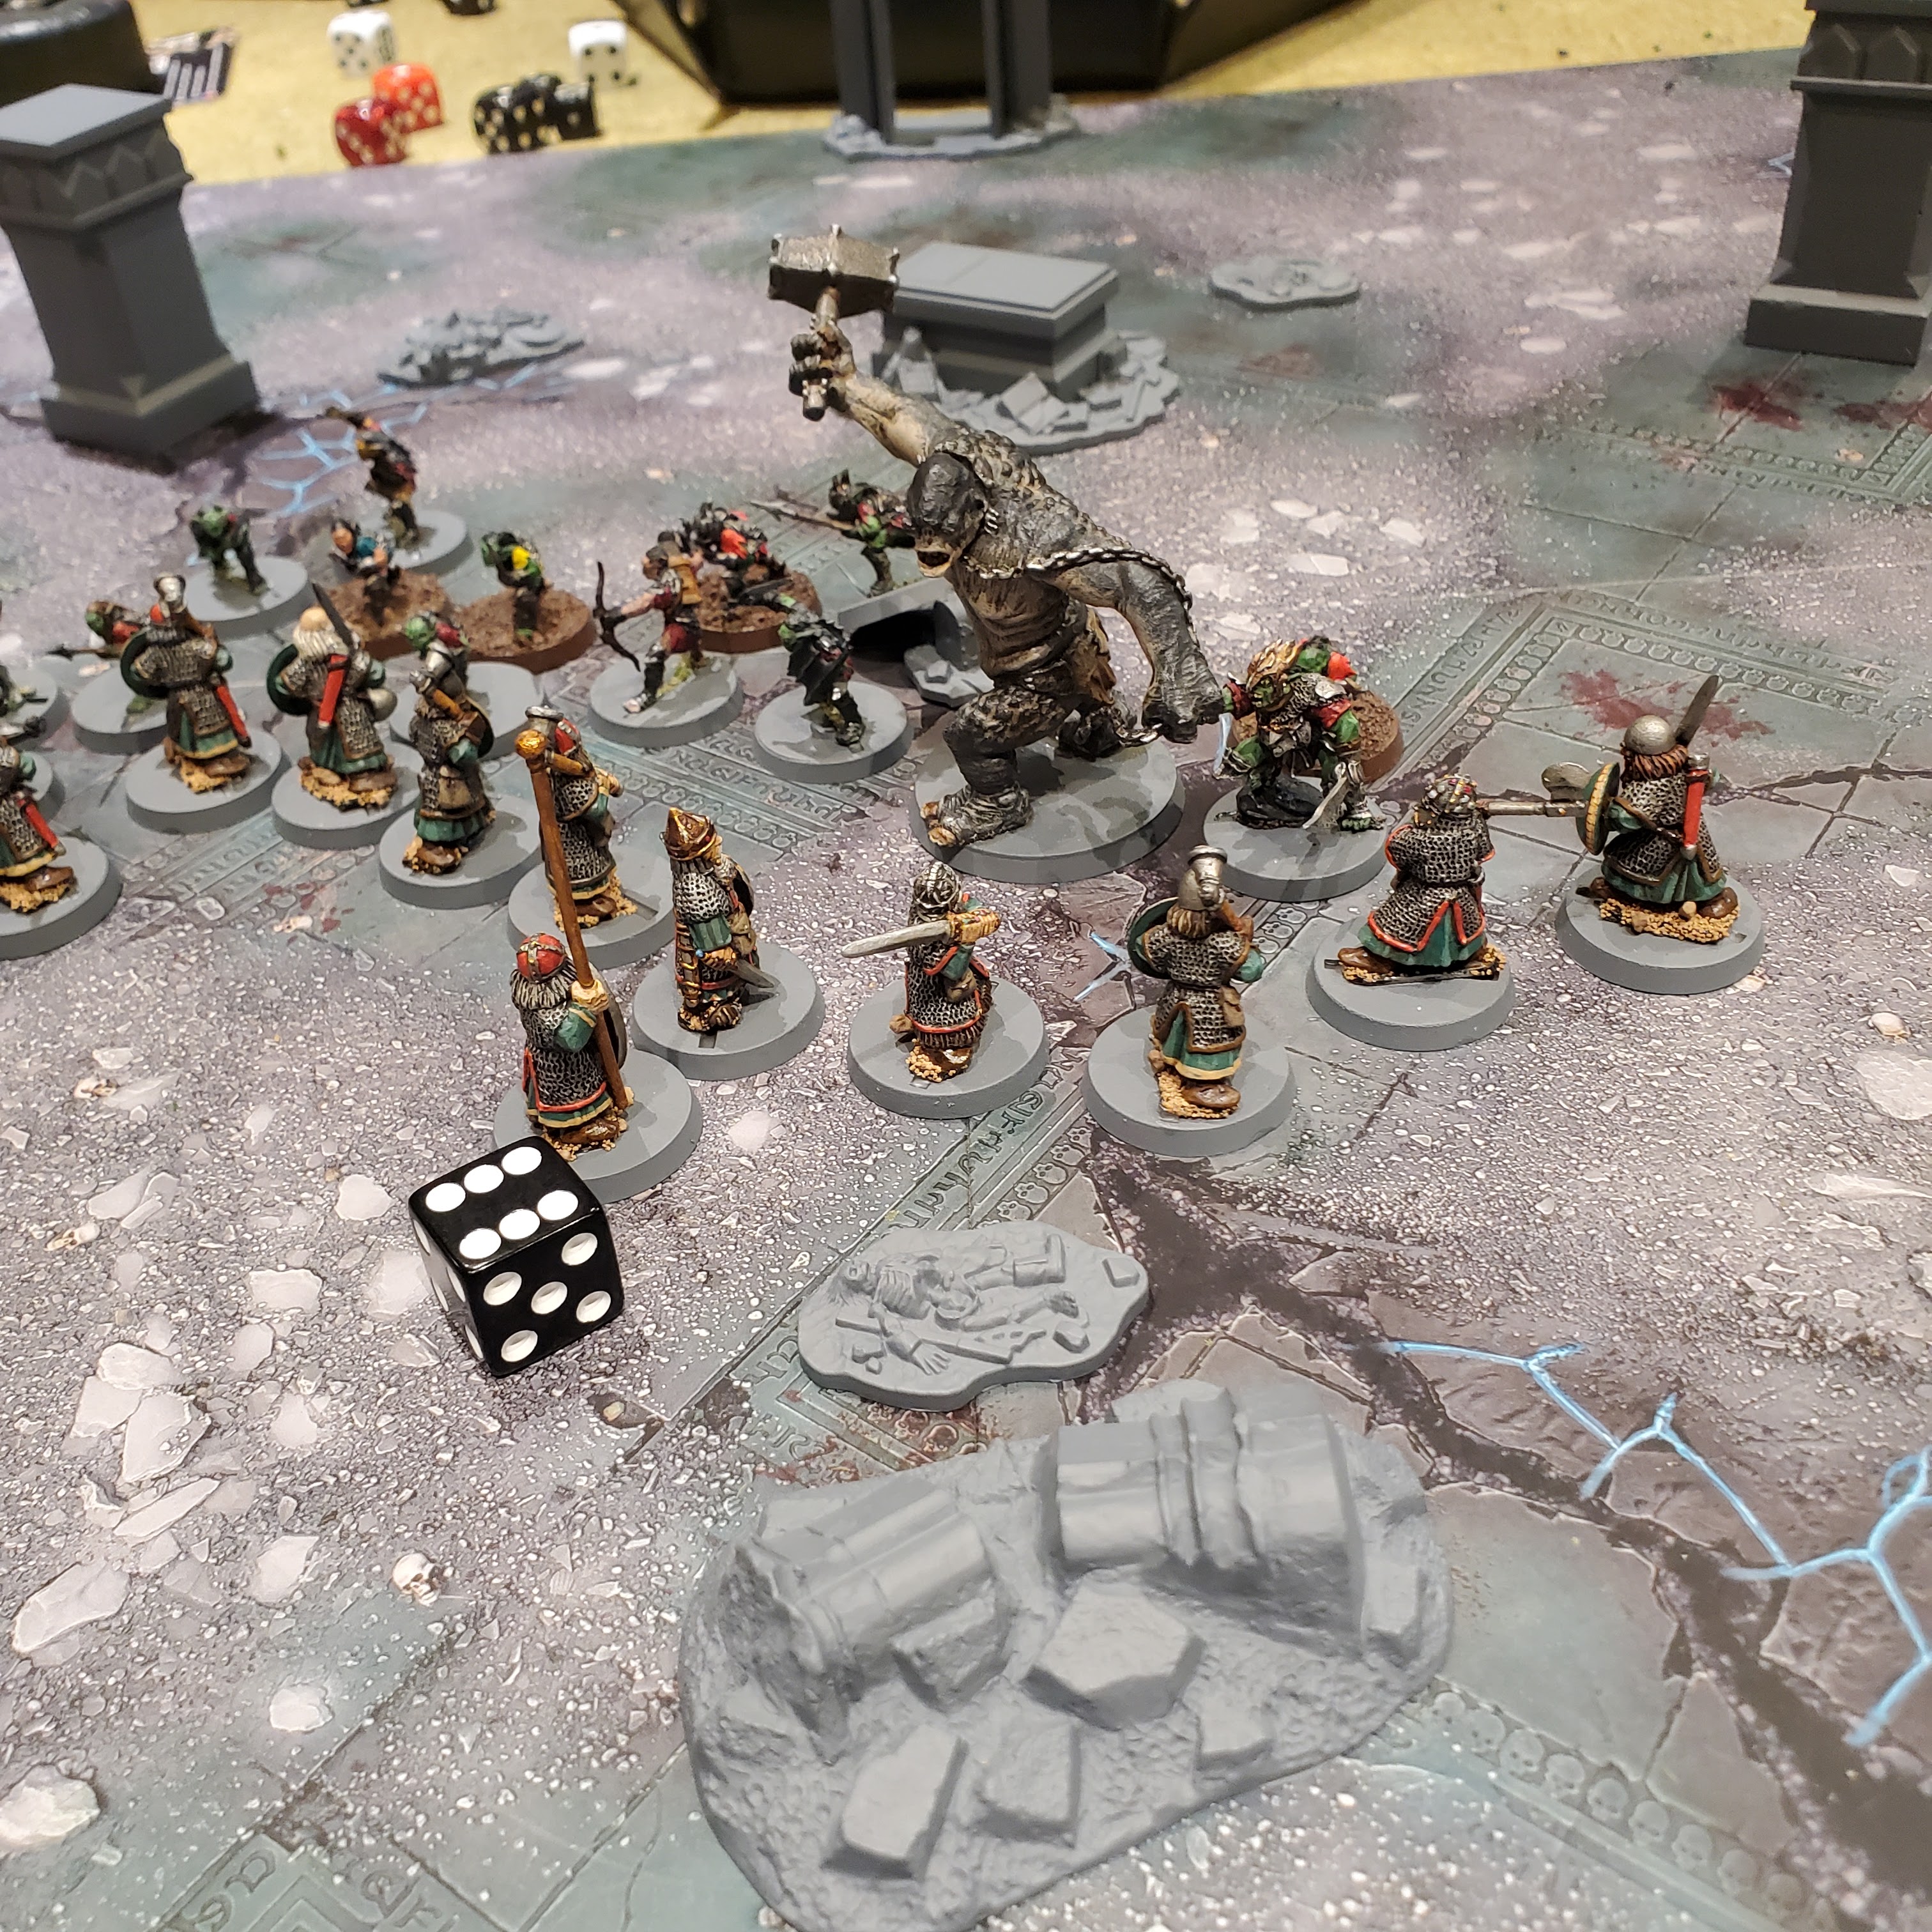
Goblin wave assault in progress! Below, Durburz and his favorite pet close in on the Warriors of Rohan.

After some Priority changing hands and maneuvering, the goblins did manage to overlap on the right flank:


Meanwhile, in the center, Kenhirrim sacrifices Haleth to hold an opening gap, which he manages for a couple turns, burning some of his Might and Fate - but finally he succumbs.

The Rohirrim tighten up into the center with a Priority win. Their Hero, Hama, manages to take down the Cave Troll with some help!
Despite this victory, Durburz and the Captain are able to keep up the pressure, especially on the flanks which become enveloped, taking down a few extra Warriors every turn. Soon, the Rohirrim are Broken, and with their Heroes concentrated in the center they start to depart the field.


This was a pretty straight-up clash, with our intent to do as much fighting as possible to get the basic rules down. I like the idea of using my plastic Vikings and other Dark Age figures as Rohirrim as well as using these rules to fight Dark Age battles, as they are, well, PERFECT for that! So there will be more historical use of the rules in the future.
* * *
Was able to get in another game shortly after, same opponent. This time HE wanted to be the goblins, so I played him with a 350 point Kingdom of Moria dwarf list. Confident in both the power of Dwarven axes as well as their paint job, I set down a straight battle of #1 Domination from the MRB.
The board is from a Warcry board game he has, suited the scenario well, and as it was a bit small at 2 x 3 feet or so we got to fighting quickly. Below, Dwarf left flank, has some shields and archers to pick at the warband opposite.


Plan is for the archers to attrit the left, the king to hold the center, kill more goblins and reduce their numbers before being flanked and encircled. A good, simple plan!


Sure there were a couple of things that I did wrong - one problem was forgetting about my banner, and then having him in the wrong spot, anyway. But the plan was fine, I think. I was going to try and attrit his center and then avoid being outflanked. This has worked against me with the goblins before, so figured it would work here.
But my king lost the tie roll for his Fight against the troll, spending a point of Might to make his '5' a '6' and tie the troll [I figured he'd pull the king apart at the seems with a "Rend"]. He only escaped by very bad rolling from the troll. Then I had a disastrous turn 4, going from 3 dead dwarfs [already too many, but the goblins had 7 or 8 dead] to 8 dead dwarfs, just putting me over the Broken point.
I needed to get the goblins to 15 dead to break them, and that definitely wasn't happening. And the dice kept beating me up, last turn I rolled four 1's for Duals in a row.
Some days, you get the troll, and some days the troll gets you!
No comments:
Post a Comment
Thanks for your comment! t will be posted after it's moderated.