The Day the Music Died...
The tune of Welsh Independence, that is! from: [CLICK]
With a battle in mind, I had to start looking at the bunch of figures that were not yet finished, and start planning the Units that would fight on the table. This means I need to decide on how many units per player, and how many per foot width of table.
POINT 1: One must figure out how many people are playing, how many units are needed per person for an interesting game. If you don't want much maneuvering, you need lots of units flanked by terrain that confines the space and forces more straight-up fighting. In general, people need at least 3-4 units, so that if a bit of misfortune happens to a couple they still have toys to play with.
POINT 2: There is a direct measured relationship between table space and unit sizes. I'm planning a 9' x 3' [really 5'] table, with a center 3' battle space. My unit bases are 5x2.5" with 1-2 per unit, which works out to about 6" width per unit. Ergo I can fit 18 units side by side and fill a space. As the OHW scenarios from last post do have some significant terrain, the actual clear maneuver space in the center of the board is only 5.5'! See below:
The two woods are 2 square feet total, and the bog [circle in center] is an impassible 6" terrain piece. The River [left] is also impassible except at the bridge [and the marked ford doesn't exist - it is actually off the South edge of the board] so the 8" or so to the battlefield West is just to stage troops to attack across the bridge, or support the attack with shooting.
At 5.5', the center portion of the board accommodates 11 Units in the open, with 4 additional units in the woods, which is restricted to Unformed troops. Both sides do have them, however, they are entirely small units of archers.
--> Overall, I'd say that a good troop density is 4-5 Units per scenario, i.e. per 3' width of the table. This leaves the option to deploy the larger units 2-bases wide if desired, some maneuver room, and also the possibility to deploy in depth.
Overall, I'm looking at about 12-15 units per side, total of 24-30 Units.
At present, I am well short of that number. Depending on if the units are 1 or 2 bases, I need at least another 5-10 bases.
Looking at the large number of "almost done" units, I have about 3 bases of Dark Ages Welsh spearmen, 3 bases of Medieval Welsh spearmen, and 6 bases of Welsh archers. I also have 8 bases of Anglo-Saxon heavy infantry. All the figures [except the archers] are at the same stage: the figs are painted, but they need spears and shields to be painted and attached. Then they need to be sealed, based and flocked. I like the idea of heavy infantry clashes, as they are satisfying to gamers who enjoy lining units up and bashing heads.
I start to work on the Anglo-Saxons. Previously, I painted the back of the shields, mounted them, then painted the metal parts of the shields. Now, I need to clean up where the black / metallic paint encroached into the painted leather covering of the shield, so a bunch of edging needs to be done, basically.
Below, over 120 figs, with shield inspiration above, just to help me figure out the colors later. All the figs pictured here are from Old Glory 25s - great, animated figs!
As you can see, their shields look like they've been outside and on campaign a bit!
The center fig has what is most likely a leather strip reinforcing the edge and nailed in - I painted this to be a metal edge, which was less common, but did exist.
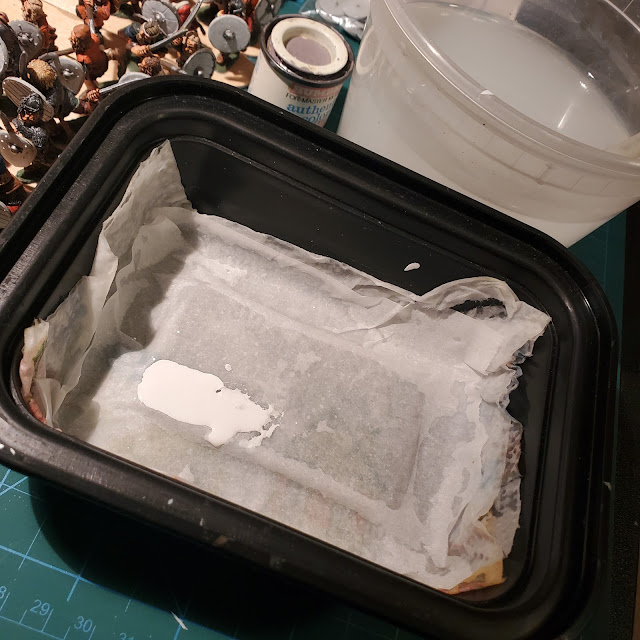
Below, I am using my trusty wet palette to keep the paint flowing as it will take at least an hour to paint all these shields white - I don't want the paint can open as it will start to dry out. Also, it makes it easy to blend shades.
These shields were primed grey. They also have no sculpting on the interior to indicate that they are wood. I use a brush with a bit of extra wet paint on it to create fake wood lines. It is very fast - just a long toothpick in the center hole to hold it still, and two quick wet swipes with a brush is usually enough.
A second coat would make them solidly the brown color and it faux grain would disappear.
A second coat would make them solidly the brown color and it faux grain would disappear.
I then take an X-acto blade and scrape down to the bare metal on the contact points between the shields and the hands / arms / clothes where the shield will touch:
As I'm a bit short on shields, I go to my craft store bag of round wood discs and grab 20 small ones, then dremel out a concave recess to help glue it to the fig.


I tried a darker color craft paint, but it didn't look right and contrasted too sharply with the wood fill light tan under it, so I ended up painting that over.
I spread cheap white glue [wetter and thinner than Elmers] around on the base so it is mostly covered, then dip the base in my flocking mix, for below result.
These also had some shrubbery glued on for added effect.
Then I paint the interior side of the shields, then I paint the exterior with a thin coat of color, which allows the wood grain to show through. These shields were bought at the "Snorri Used Shield Shop" are are low-budget, no leather covering, some paint thrown on to preserve the raw wood from wet.
As all that was drying, I began to get a better idea of the time involved, so gave all the Welsh that needed them spears and shields. I then popped the archers off their craft sticks [the Elmer's glue dries brittle, allowing for easy removal].
I then checked and realized I needed more uni-bases with contour [an 8-part blog post series CLICK], so I cut up strips of cardboard [two different thicknesses] and made little undulations and hills, gluing them with Elmers.

While the cardboard was drying, I popped the spearmen off their craft sticks. I usually just bend or twist the stick, and they start to come off.

I then glued them onto the uni-base in little dioramas. In this case, I was putting 12 figs per base, which makes them "loose medium infantry" in WRG basing terms. There is enough space to give an interesting story to each base.

Having done the same with the archers, I then sculpted the bases with Elmer's wood fill to hide the cardboard and the figures metal base. When it was mostly dry, I painted the entire top in a color sample I had made at Lowe's, which matches the bases and the table.
These also had some shrubbery glued on for added effect.
Around mid-week, I realized I would not have time for the Anglo-Saxon shields, so I concentrated on the Welsh to try and get them done for Saturday's big game!
Next post - the game itself!


